needhelp@streamingpulse.com
3495 Rebecca Street, ON, Canada
Contact Us
Contact Support
Client Zone Login
Home
Services
Video Channel Reseller
Wowza System Reseller
Live Streaming
Wowza Premium Live Media Streaming
CloudTv Station
Wowza Premium Interactive TV Server
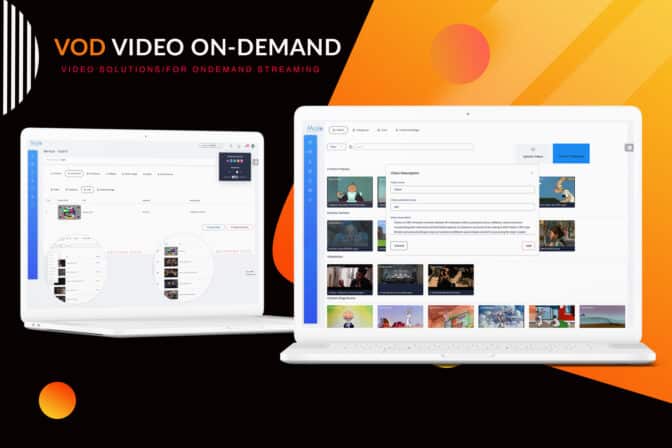
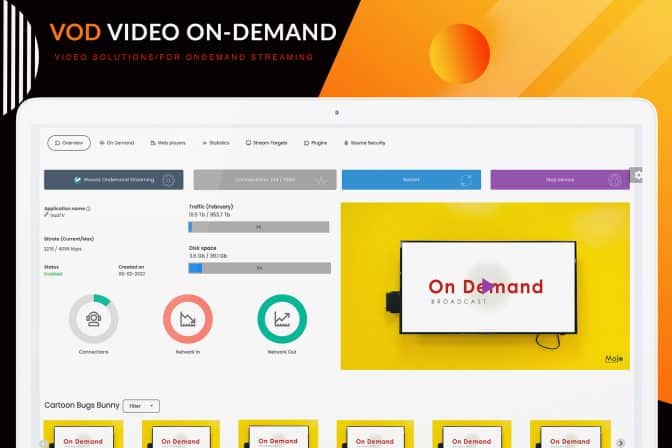
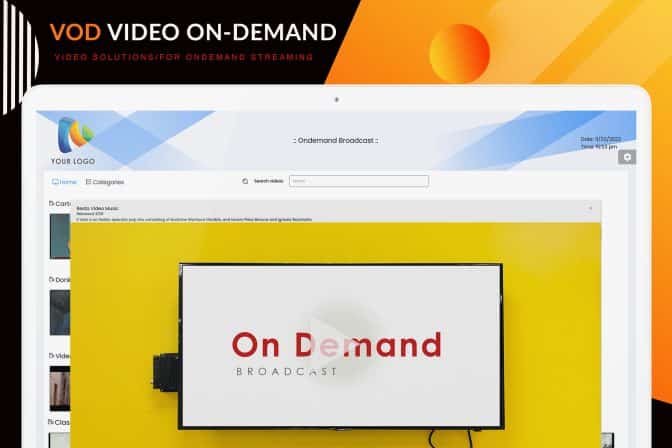
On-demand
Wowza Premium Vod Media Streaming
IP Camera
Wowza Premium IP Camera Media Streaming
Apple HLS
Wowza Premium Apple HLS Media Streaming
Submitting your TV Station
Get listed to the Streaming Pulse TV App
Radio Channel Reseller
ShoutCast Icecast AutoDJ
Shoutcast Icecast
Premium Shoutcast Icecast AutoDJ
Free Trial SHOUTcast Icecast
ShoutCast Icecast Autodj
Free Trial Wowza MojoCP
CloudTv Live VOD IPcamera Apple HLS
Dedicated Server
ShooutCast Icecast & Wowza TV Dedicated Server
Mobile Radio TV Apps
Your Business Your Solution
Submitting your Radio Station
Get listed to the Streaming Pulse Radio App
Features
Wowza Media
MojoCP Applications
The most advance video platform
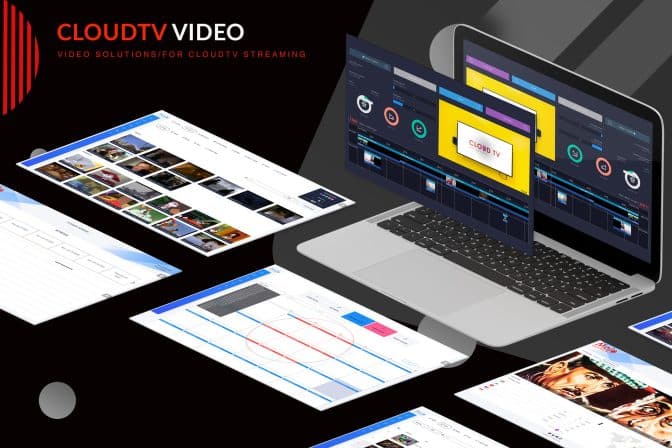
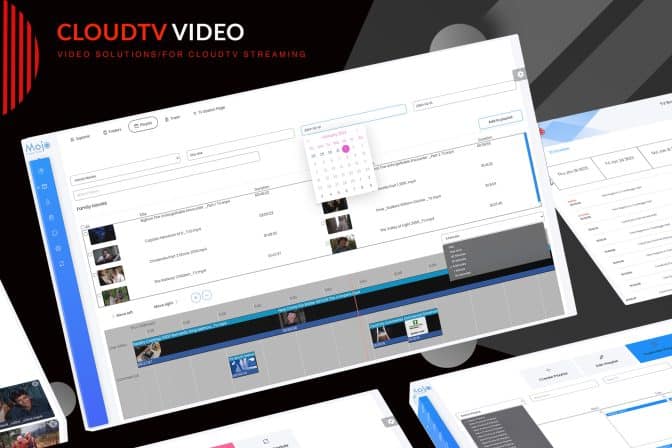
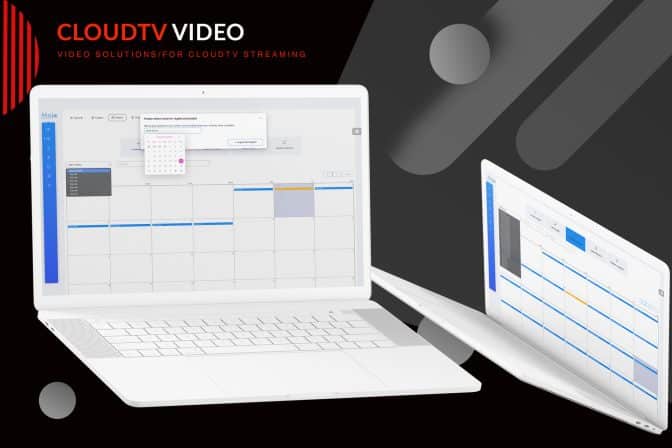
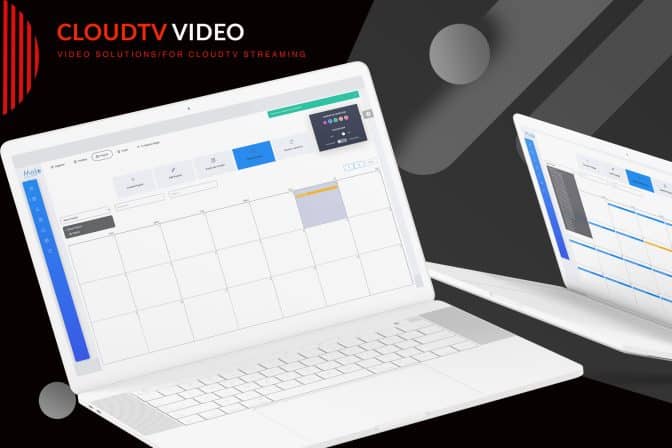
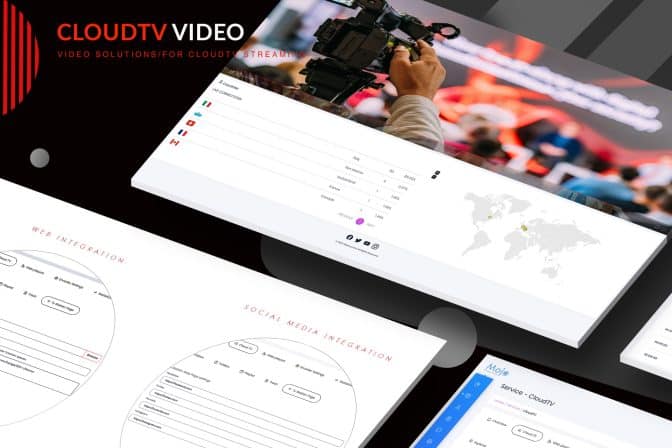
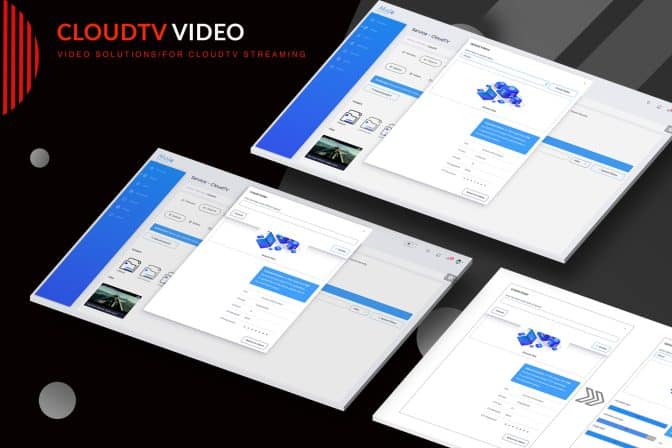
Cloud TV solution
Build an Online Cloud TV Station
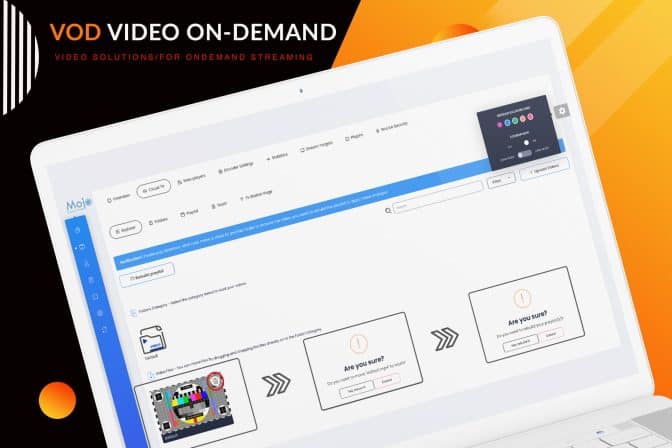
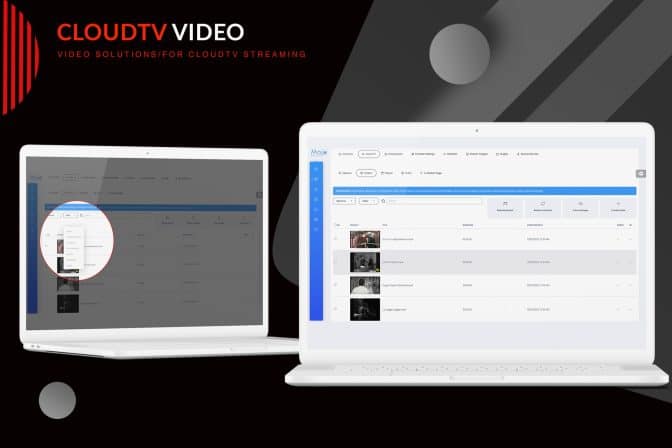
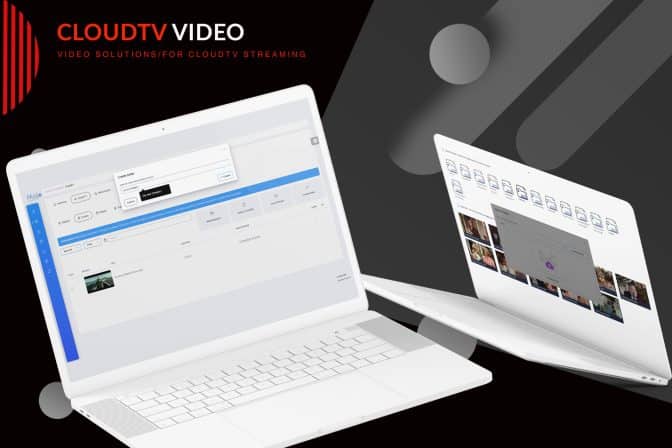
On Demand Video
VOD full control of your video content
Stream Target
Stream Target solutions
Video Software
High-end streaming video encoding software
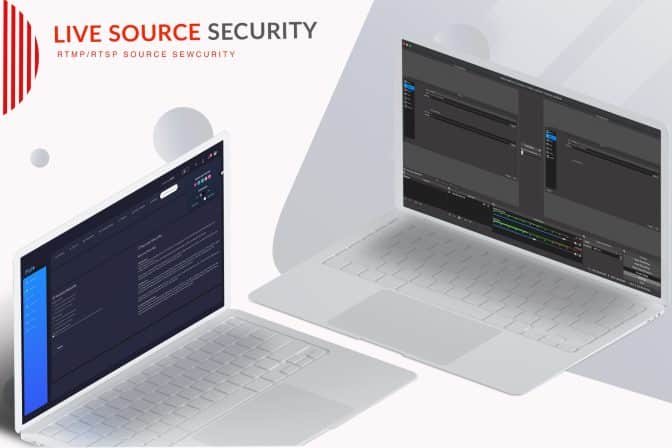
Plugins Source Security & Embed Players
Transcoder, nDVR, Stream Records, Playback, Source Security, Player builder
MojoCP WHMCS Reseller Integration
Reseller Module Integration
ShoutCast – Icecast
AIO Radio Player
SHOUTCast Icecast AIO Radio Player
Radio Video Vast
Introducing Radio Video VAST Tag
Audio Software
Recommended Audio Software for Your Radio Station
Centova Cast
Total control over your streaming
ShoutCAST Icecast
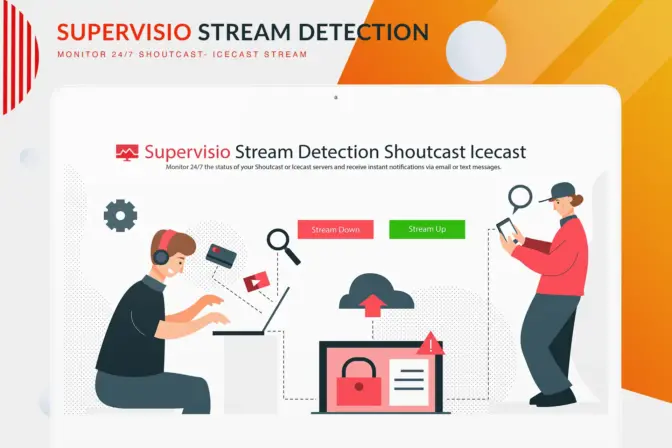
Supervisio Stream Detection for Shoutcast and Icecast
Centova WHMCS Reseller Integration
Reseller Module Integration
Hot Deals
Streaming Wowza Hot Deals
Live CloudTV Vod
Shoutcast Icecast Hot Deals
Icecast Shoutcast Autodj
Blog
Info center
Contact Us
About Us
Latest News
Support FAQ
Privacy Policy
Terms os Services
Service Level Agreement
Client Zone
Client Zone Login
Reset Password
Register
Submit a Ticket
Include in iOS & Android
Submitting your radio station
Submitting your tv station
MojoCP Platform
Client Usage Guide
Guide for Client References
Reseller Reference Manual
Guide for Reseller References
Videos
Users
Login
Register
Password Reset
Call Anytime
+1 855 22 PULSE
Home
Services
Video Channel Reseller
Wowza System Reseller
Live Streaming
Wowza Premium Live Media Streaming
CloudTv Station
Wowza Premium Interactive TV Server
On-demand
Wowza Premium Vod Media Streaming
IP Camera
Wowza Premium IP Camera Media Streaming
Apple HLS
Wowza Premium Apple HLS Media Streaming
Submitting your TV Station
Get listed to the Streaming Pulse TV App
Radio Channel Reseller
ShoutCast Icecast AutoDJ
Shoutcast Icecast
Premium Shoutcast Icecast AutoDJ
Free Trial SHOUTcast Icecast
ShoutCast Icecast Autodj
Free Trial Wowza MojoCP
CloudTv Live VOD IPcamera Apple HLS
Dedicated Server
ShooutCast Icecast & Wowza TV Dedicated Server
Mobile Radio TV Apps
Your Business Your Solution
Submitting your Radio Station
Get listed to the Streaming Pulse Radio App
Features
Wowza Media
MojoCP Applications
The most advance video platform
Cloud TV solution
Build an Online Cloud TV Station
On Demand Video
VOD full control of your video content
Stream Target
Stream Target solutions
Video Software
High-end streaming video encoding software
Plugins Source Security & Embed Players
Transcoder, nDVR, Stream Records, Playback, Source Security, Player builder
MojoCP WHMCS Reseller Integration
Reseller Module Integration
ShoutCast – Icecast
AIO Radio Player
SHOUTCast Icecast AIO Radio Player
Radio Video Vast
Introducing Radio Video VAST Tag
Audio Software
Recommended Audio Software for Your Radio Station
Centova Cast
Total control over your streaming
ShoutCAST Icecast
Supervisio Stream Detection for Shoutcast and Icecast
Centova WHMCS Reseller Integration
Reseller Module Integration
Hot Deals
Streaming Wowza Hot Deals
Live CloudTV Vod
Shoutcast Icecast Hot Deals
Icecast Shoutcast Autodj
Blog
Info center
Contact Us
About Us
Latest News
Support FAQ
Privacy Policy
Terms os Services
Service Level Agreement
Client Zone
Client Zone Login
Reset Password
Register
Submit a Ticket
Include in iOS & Android
Submitting your radio station
Submitting your tv station
MojoCP Platform
Client Usage Guide
Guide for Client References
Reseller Reference Manual
Guide for Reseller References
Videos
Users
Login
Register
Password Reset
All
ShoutCAST Icecast
Centova Cast
MojoCP User Guide
MojoCP Reseller Guide
Video Software
MojoCP
On Demand Video
Plugins
Cloud TV solution
Stream Target
Audio Software
WHMCS Integration
AIO Radio Player
Radio Video Vast
July 6, 2024
ShoutCast Icecast
Shoutcast Directory
Read More
June 29, 2024
ShoutCast Icecast
Supervisio
Read More
April 28, 2024
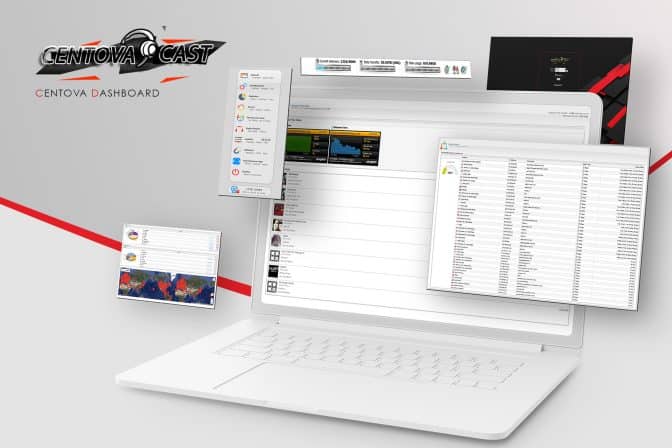
Centova Cast
Centova Cast Statistics
Read More
April 27, 2024
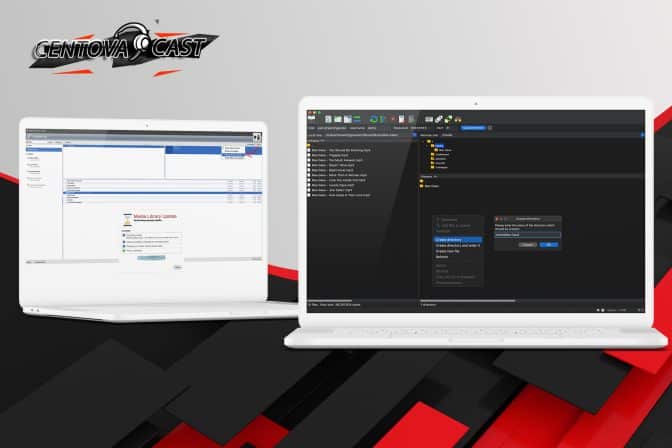
Centova Cast
Centova Cast Library
Read More
April 27, 2024
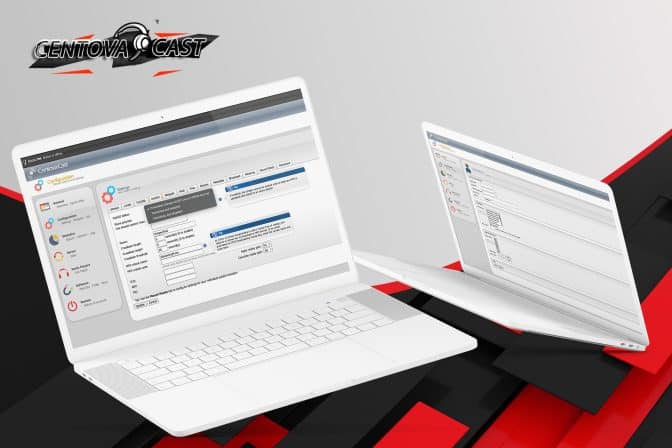
Centova Cast
Centova Cast Playlist
Read More
April 27, 2024
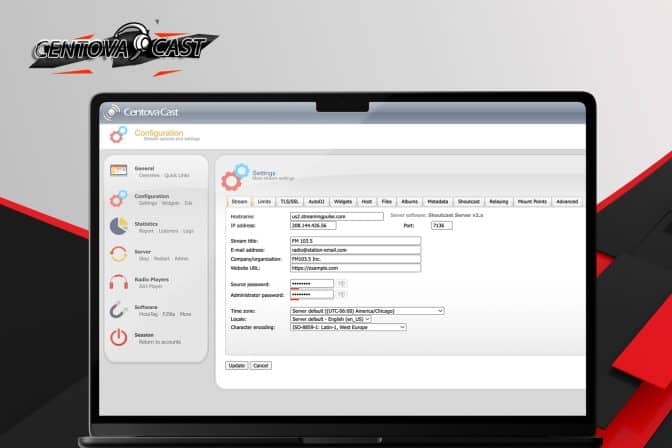
Centova Cast
Centova Cast Relaying
Read More
January 27, 2024
CloudTV
,
MojoCP
Operations Tabs
Read More
January 27, 2024
CloudTV
,
MojoCP
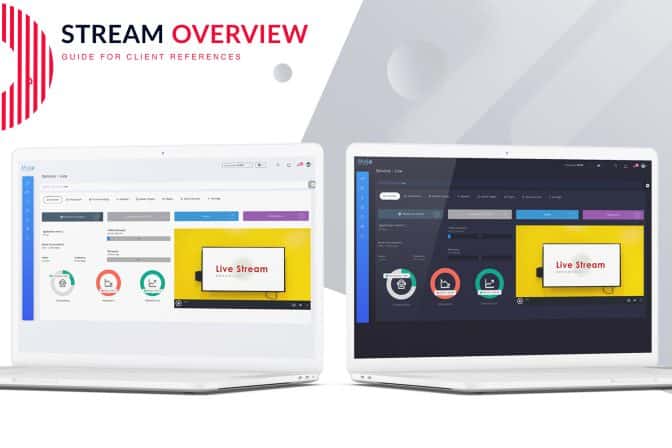
Stream Overview
Read More
January 21, 2024
CloudTV
,
MojoCP
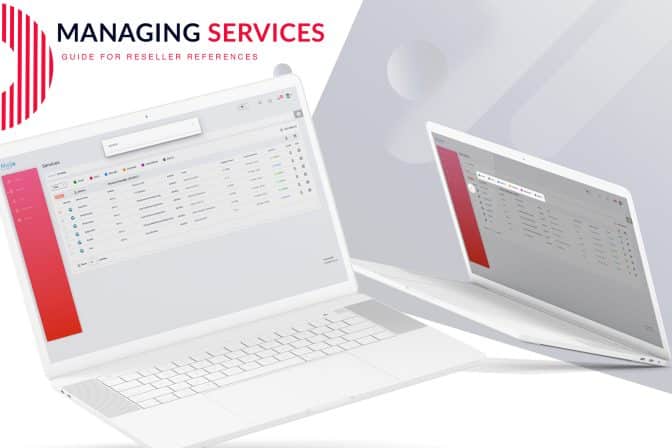
Managing Services
Read More
January 21, 2024
CloudTV
,
MojoCP
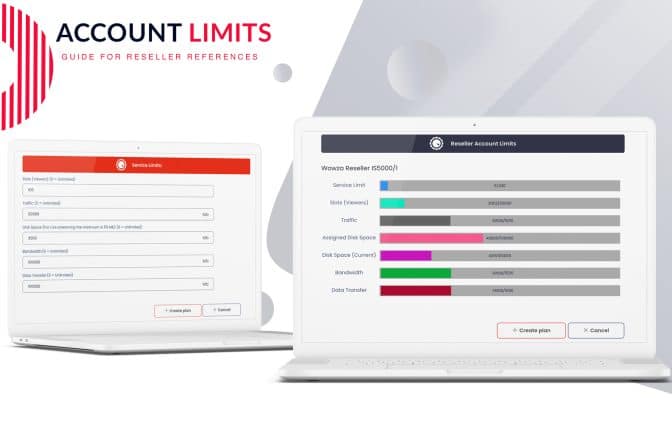
Account Limits
Read More
January 21, 2024
CloudTV
,
MojoCP
Service Options
Read More
January 21, 2024
CloudTV
,
MojoCP
Stream Features
Read More
January 21, 2024
CloudTV
,
MojoCP
Application Services
Read More
January 21, 2024
CloudTV
,
MojoCP
Service Limits
Read More
January 21, 2024
CloudTV
,
MojoCP
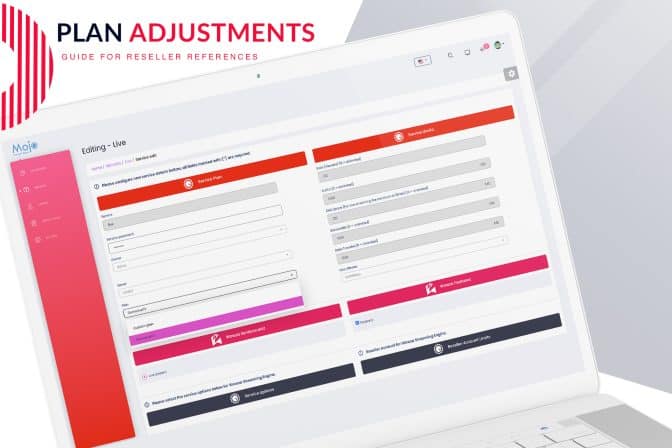
Service Plans
Read More
January 21, 2024
CloudTV
,
MojoCP
Login as User
Read More
January 21, 2024
CloudTV
,
MojoCP
Modify Stream Key
Read More
January 21, 2024
CloudTV
,
MojoCP
Upgrade Downgrade Plans
Read More
January 21, 2024
CloudTV
,
MojoCP
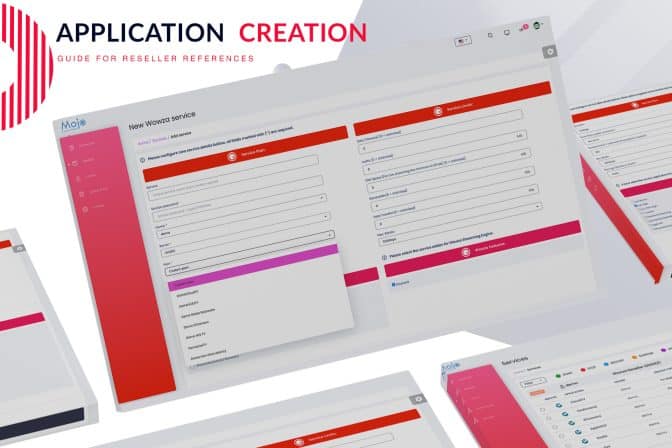
Adding Services
Read More
January 21, 2024
CloudTV
,
MojoCP
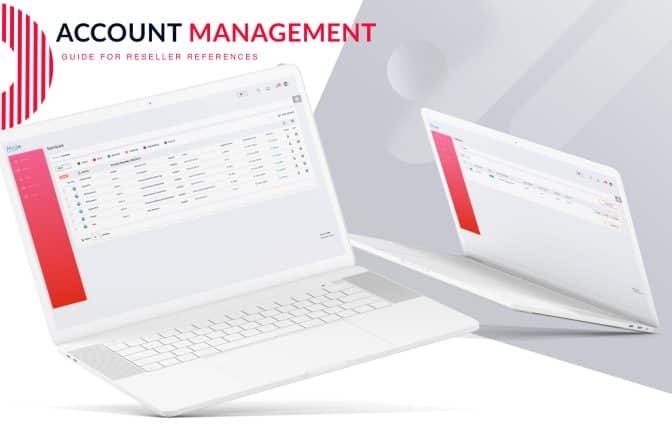
Account Management
Read More
January 21, 2024
CloudTV
,
MojoCP
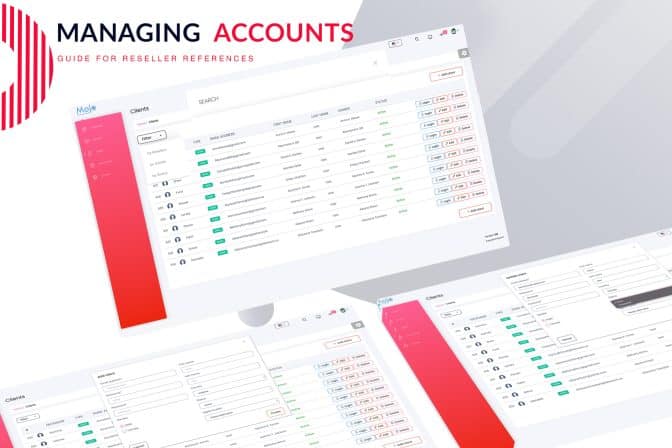
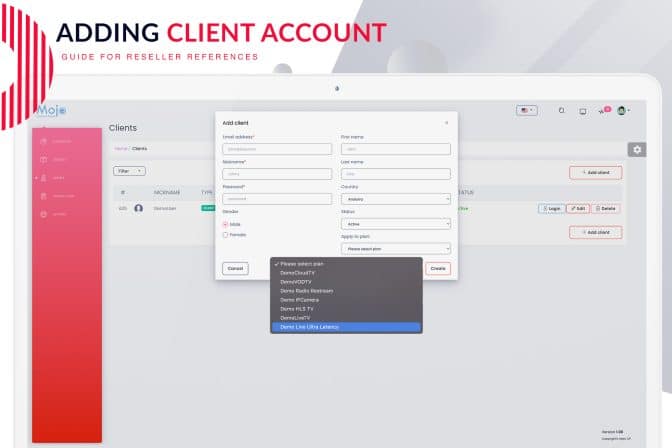
Add Client Accounts
Read More
January 21, 2024
CloudTV
,
MojoCP
Company Logo
Read More
January 21, 2024
CloudTV
,
MojoCP
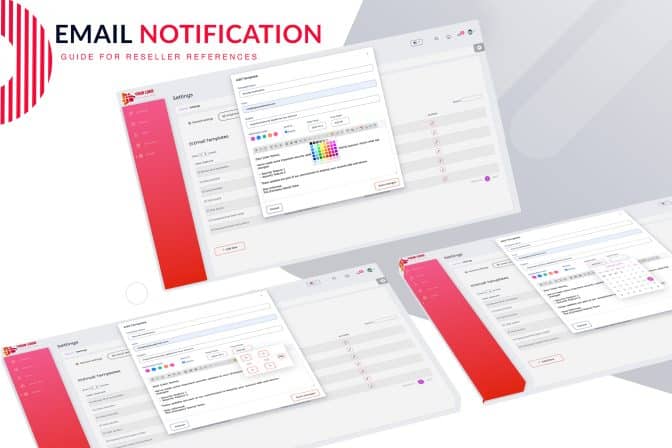
Message Notifications
Read More
January 21, 2024
CloudTV
,
MojoCP
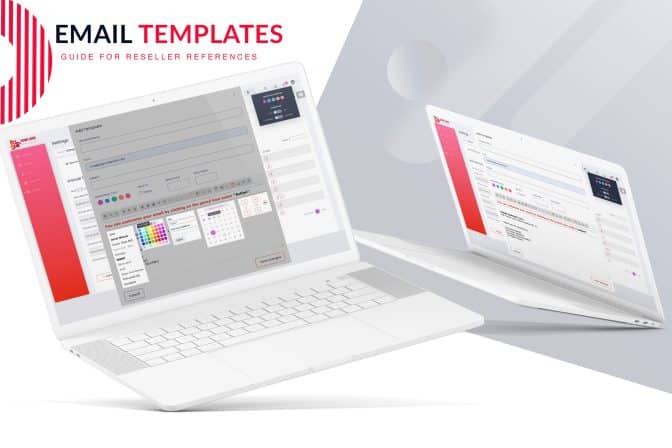
Email Templates
Read More
January 21, 2024
CloudTV
,
MojoCP
General Settings
Read More
January 20, 2024
Video Software
Broadcast Me Mobile
Read More
January 14, 2024
MojoCP
On Demand
Read More
January 14, 2024
MojoCP
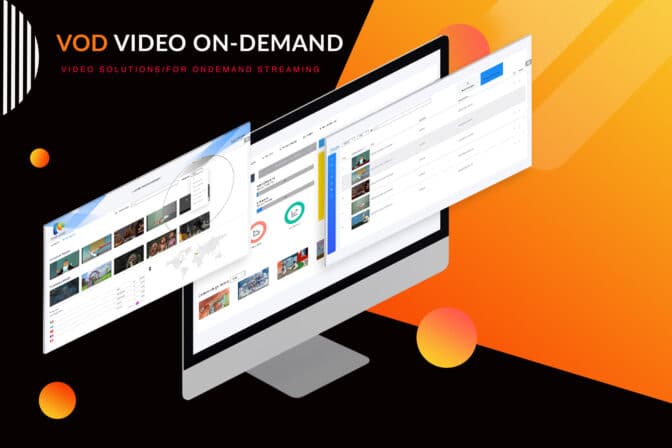
VOD Videos
Read More
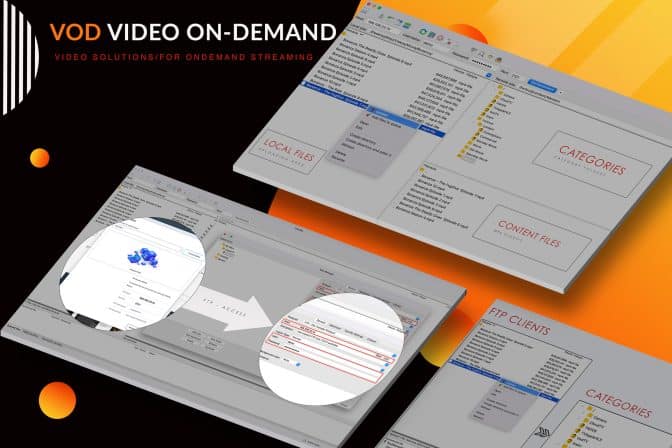
January 14, 2024
On-demand
VOD Categories
Read More
January 14, 2024
MojoCP
OnDemand Page
Read More
January 14, 2024
Plugins
Source Security
Read More
January 14, 2024
Plugins
GeoIP Country Locking
Read More
January 14, 2024
Plugins
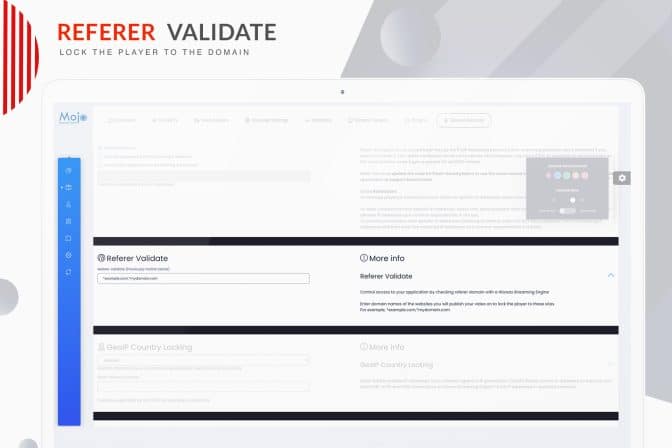
Referer Validate
Read More
January 14, 2024
Plugins
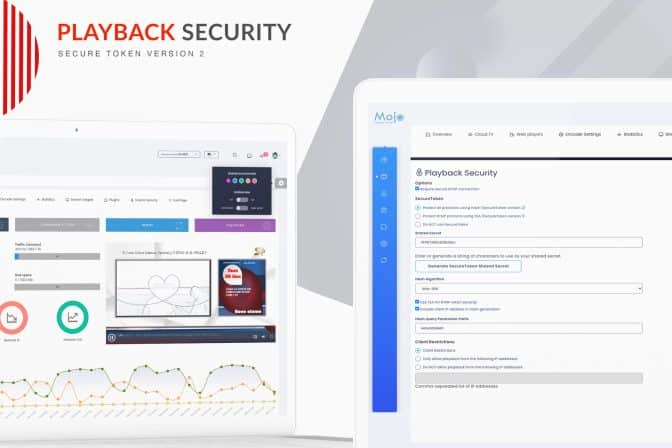
Secure Token
Read More
January 14, 2024
CloudTV
,
MojoCP
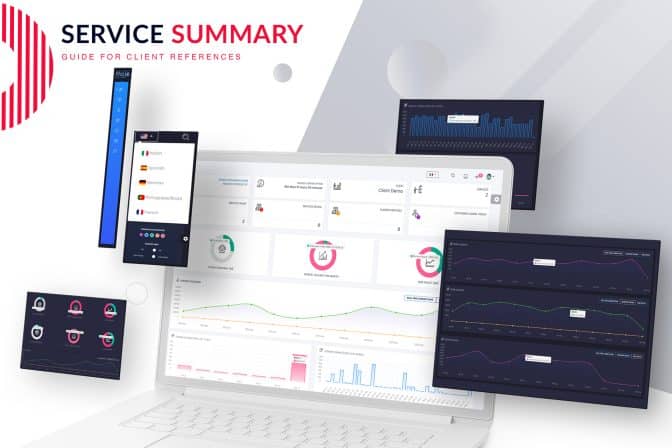
Service Status Summary
Read More
January 12, 2024
CloudTV
,
MojoCP
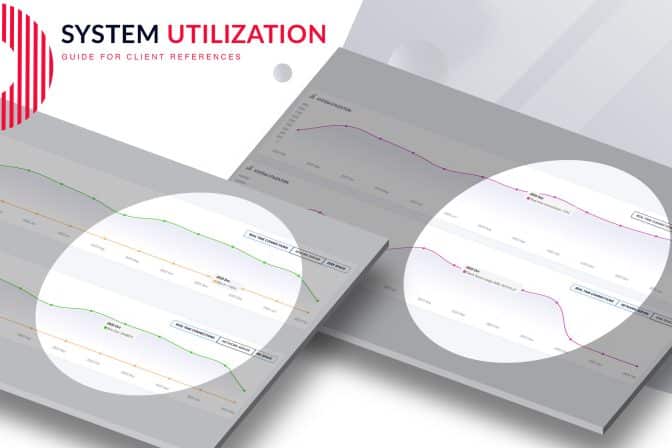
System Utilization
Read More
January 7, 2024
MojoCP
Cloud TV
Read More
January 6, 2024
CloudTV
,
MojoCP
Explore Tab
Read More
January 5, 2024
CloudTV
,
MojoCP
CloudTv Playlist
Read More
January 5, 2024
CloudTV
,
MojoCP
Folders Category
Read More
January 4, 2024
MojoCP
,
On-Denmand
Trash & Restore Videos
Read More
January 4, 2024
CloudTV
,
MojoCP
Duplicate Playlist
Read More
January 4, 2024
CloudTV
,
MojoCP
Default Playlist
Read More
January 4, 2024
CloudTV
,
MojoCP
Delete Playlist
Read More
January 4, 2024
CloudTV
,
MojoCP
Category Edit
Read More
January 4, 2024
CloudTV
,
MojoCP
Trash & Restore
Read More
January 4, 2024
MojoCP
,
On-demand
VOD FTP Uploading
Read More
January 4, 2024
CloudTV
,
MojoCP
CloudTv Web Page
Read More
January 4, 2024
CloudTV
,
MojoCP
File Manager Interface
Read More
January 4, 2024
MojoCP
,
On-demand
VOD File Manager
Read More
January 4, 2024
CloudTV
,
MojoCP
FTP Uploading Media
Read More
January 3, 2024
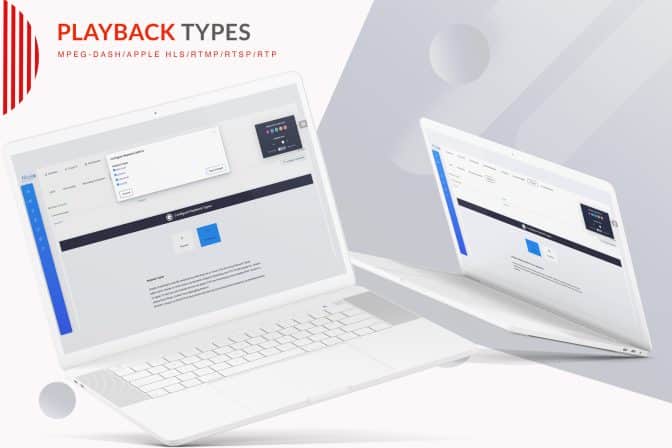
Plugins
Playback Types
Read More
January 3, 2024
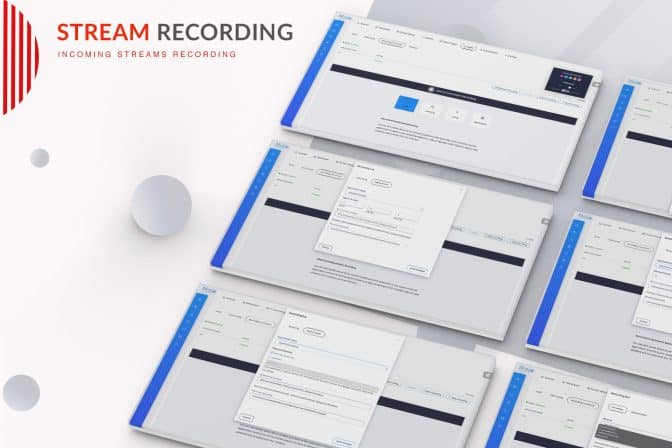
Plugins
Stream Recording
Read More
January 3, 2024
MojoCP
Live Switching
Read More
January 2, 2024
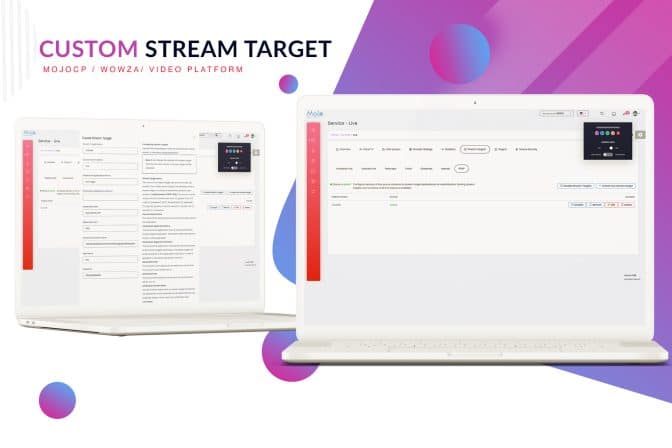
MojoCP
Custom RTMP Target
Read More
January 2, 2024
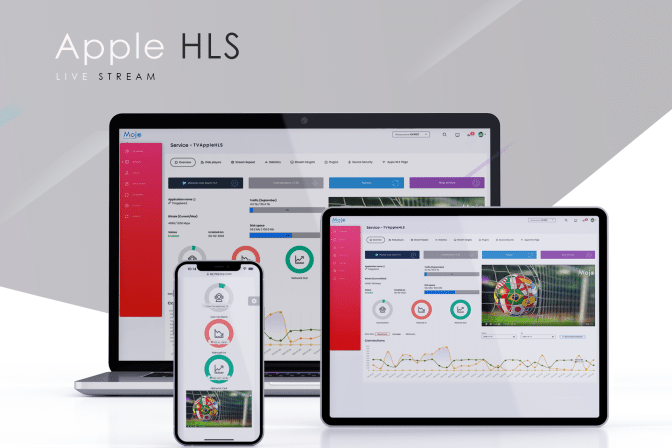
MojoCP
Apple HLS Live Stream
Read More
January 2, 2024
MojoCP
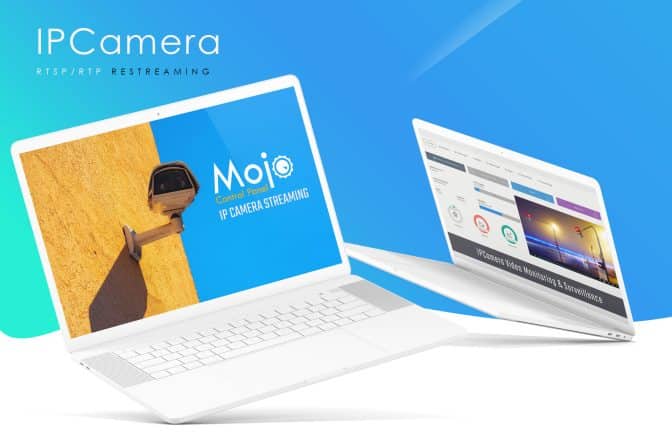
IP Camera Restream
Read More
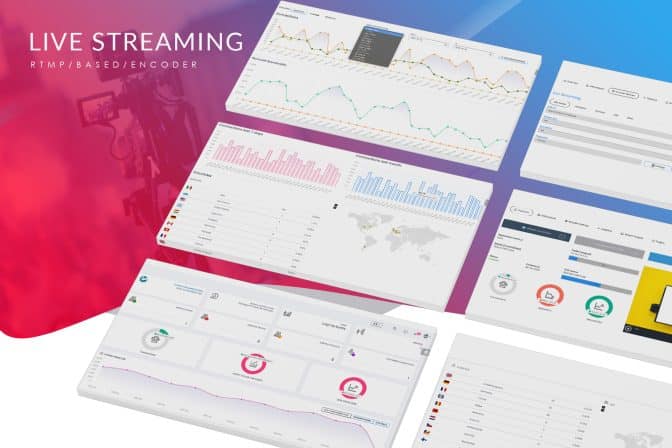
January 2, 2024
MojoCP
Live Streaming
Read More
January 1, 2024
MojoCP
Twich Stream Target
Read More
January 1, 2024
MojoCP
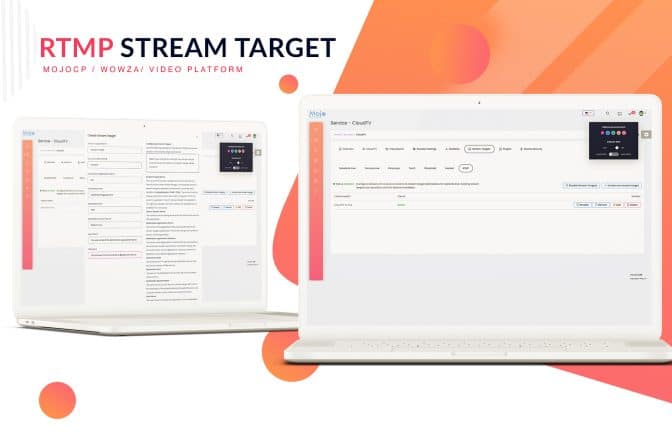
RTMP Stream Target
Read More
January 1, 2024
MojoCP
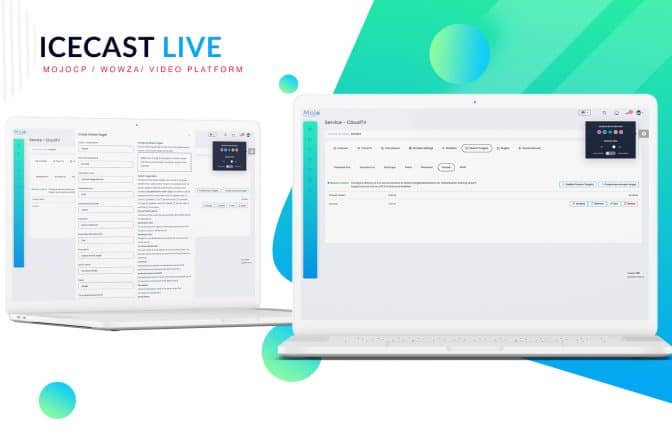
Icecast
Read More
December 31, 2023
MojoCP
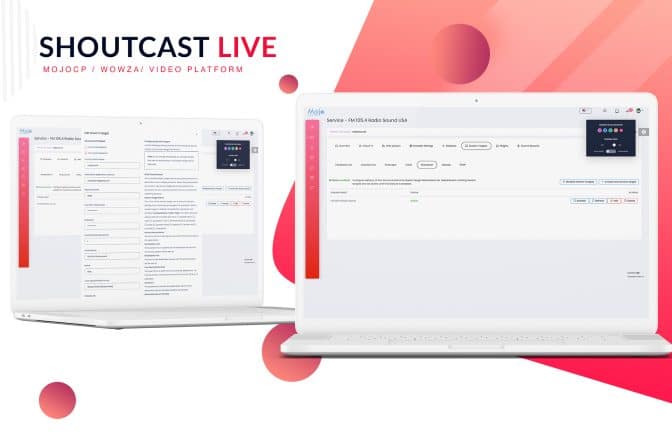
Shoutcast
Read More
December 31, 2023
MojoCP
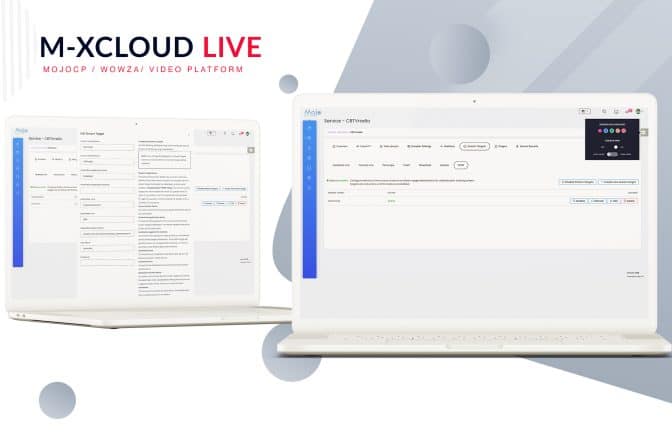
M-XCloud
Read More
December 30, 2023
MojoCP
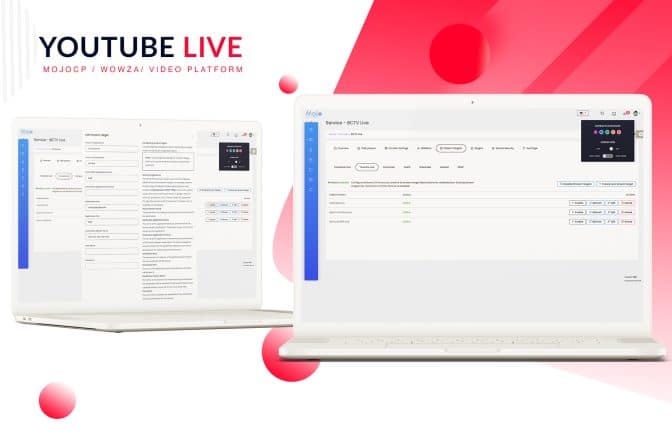
YouTube
Read More
December 29, 2023
MojoCP
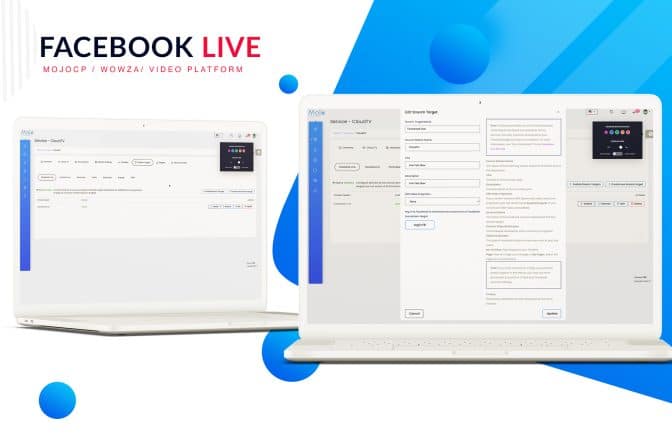
Facebook
Read More
December 27, 2023
Centova Cast
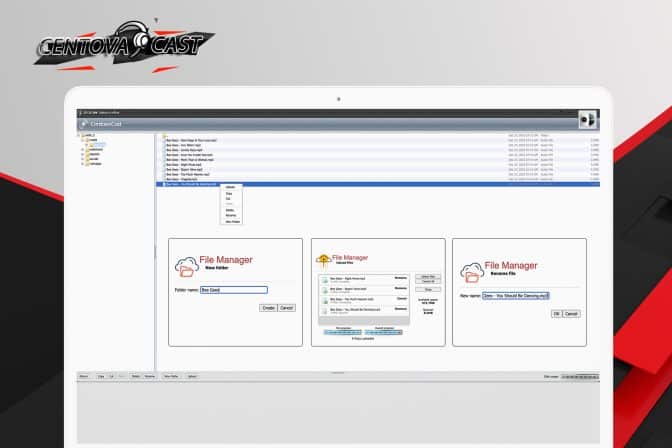
Centova Cast File Manager
Read More
December 25, 2023
Centova Cast
Centova Cast FTP
Read More
December 24, 2023
Centova Cast
Centova Cast DJ Manager
Read More
December 23, 2023
Centova Cast
Centova Cast DJ Status
Read More
December 23, 2023
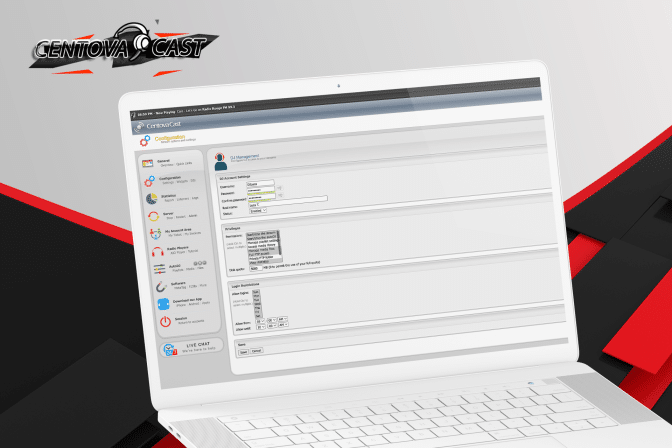
Centova Cast
Centova Cast Settings
Read More
December 17, 2023
Centova Cast
Centova Cast Dashboard
Read More
August 15, 2023
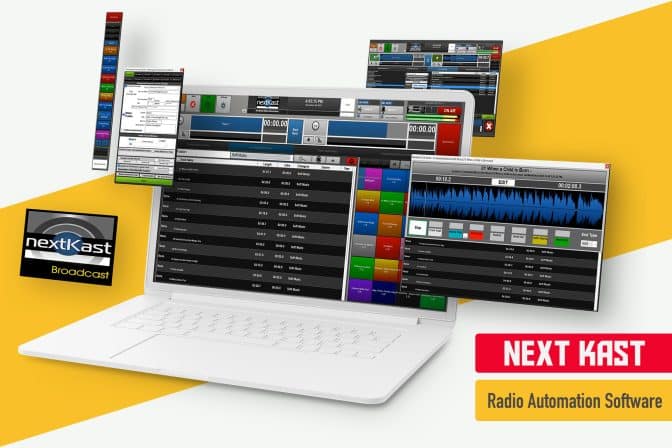
Audio Software
Nextkast
Read More
August 15, 2023
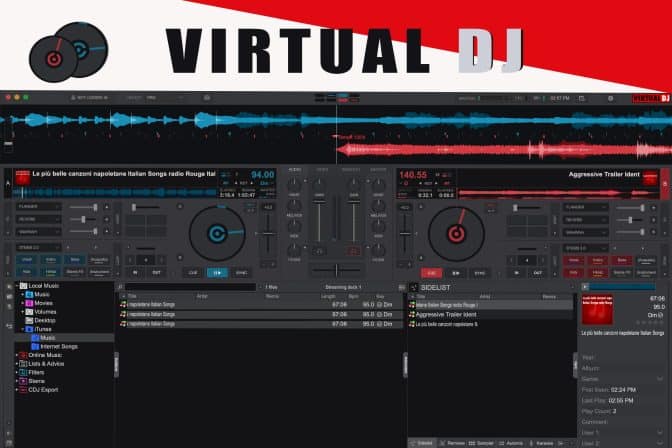
Audio Software
Virtual DJ
Read More
August 15, 2023
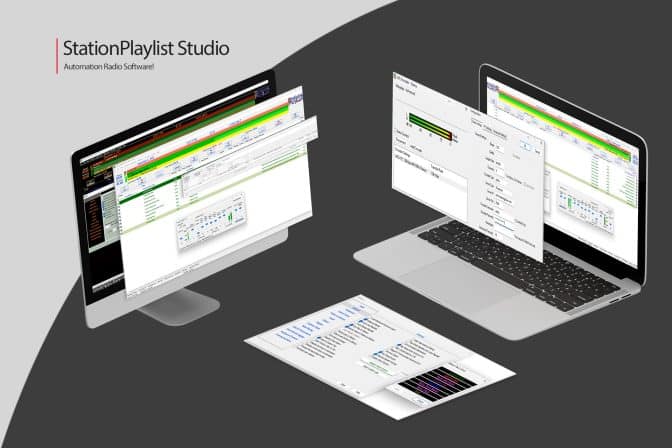
Audio Software
Station Playlist Studio
Read More
August 15, 2023
Audio Software
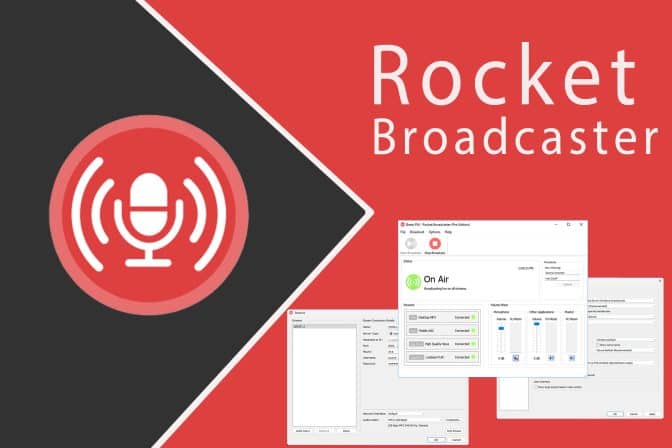
Rocket Broadcaster
Read More
August 15, 2023
Audio Software
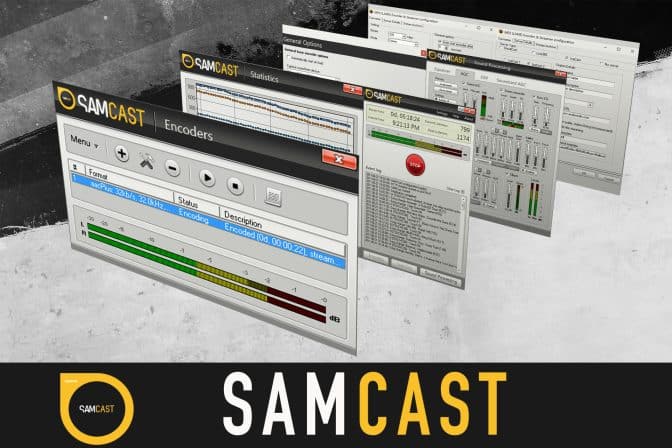
SAM Cast
Read More
August 15, 2023
Audio Software
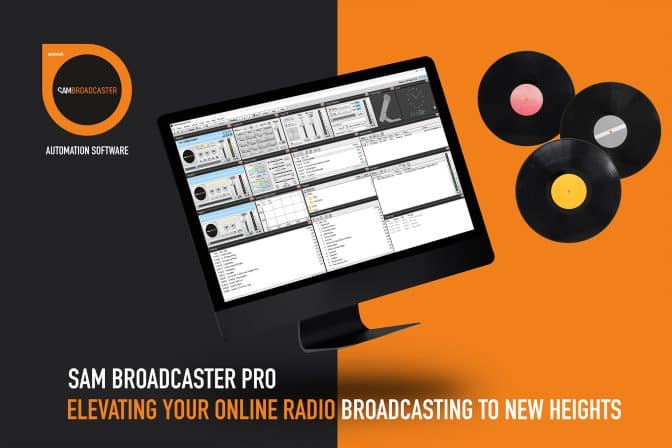
SAM Broadcaster
Read More
August 15, 2023
Audio Software
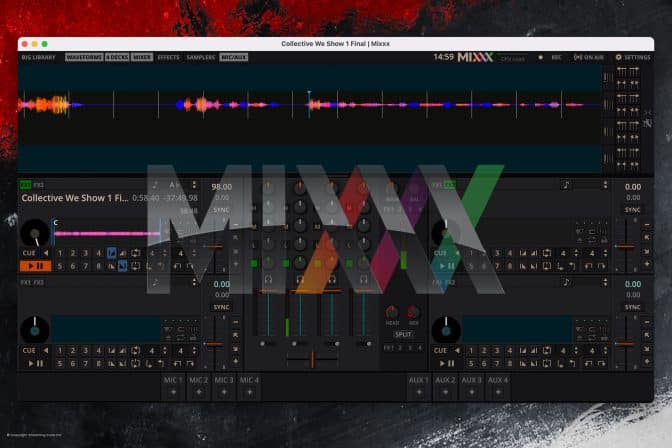
Mixxx
Read More
August 15, 2023
Audio Software
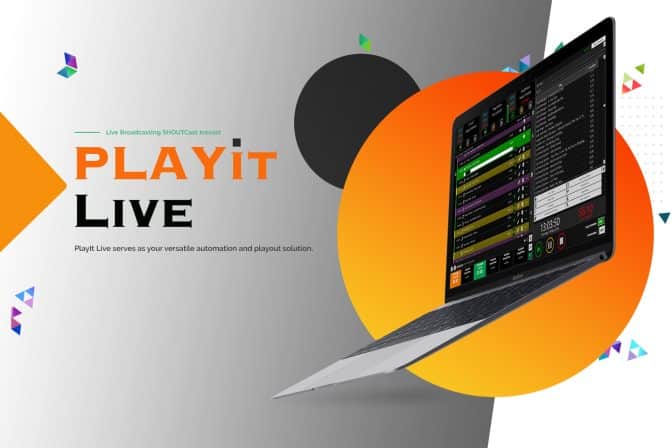
PlayIt Live
Read More
August 15, 2023
Audio Software
Butt Encoder
Read More
August 15, 2023
Audio Software
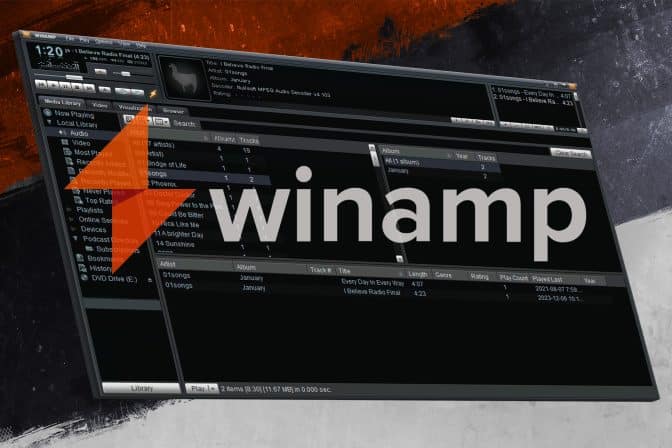
Winamp
Read More
August 15, 2023
Video Software
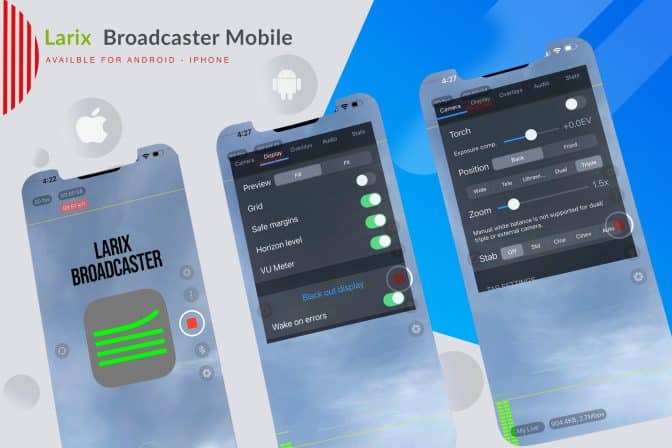
Larix Broadcaster Mobile
Read More
August 15, 2023
Video Software
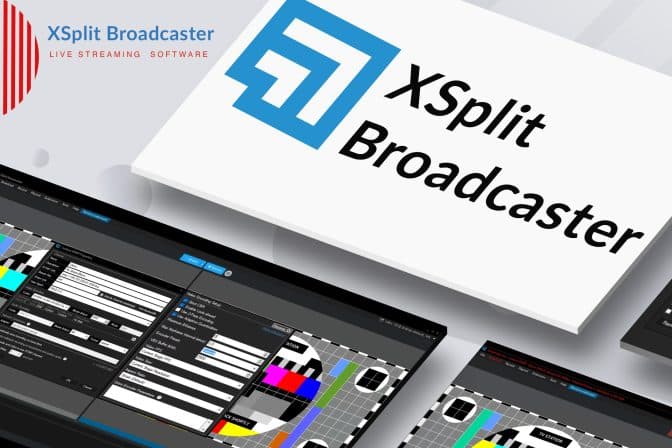
Xsplit Broadcaster
Read More
August 15, 2023
Video Software
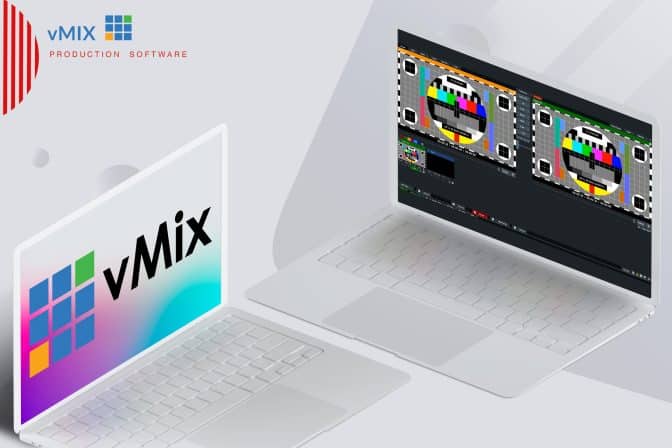
vMix
Read More
August 15, 2023
Video Software
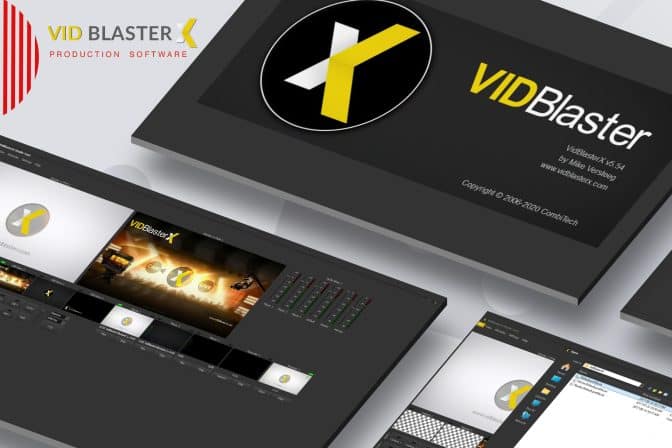
VidBlasterX
Read More
August 15, 2023
Video Software
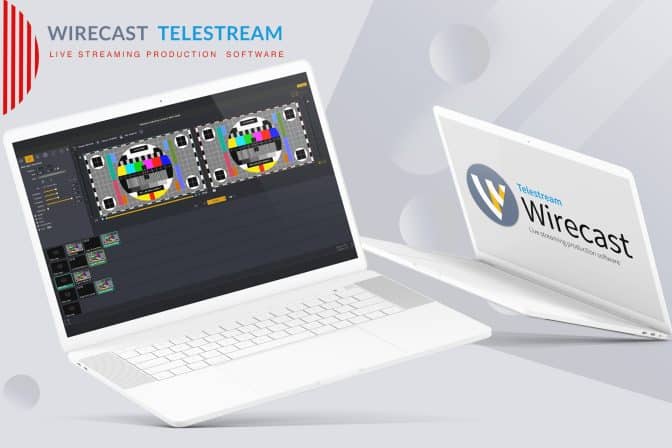
Telestream Wirecast
Read More
August 15, 2023
Video Software
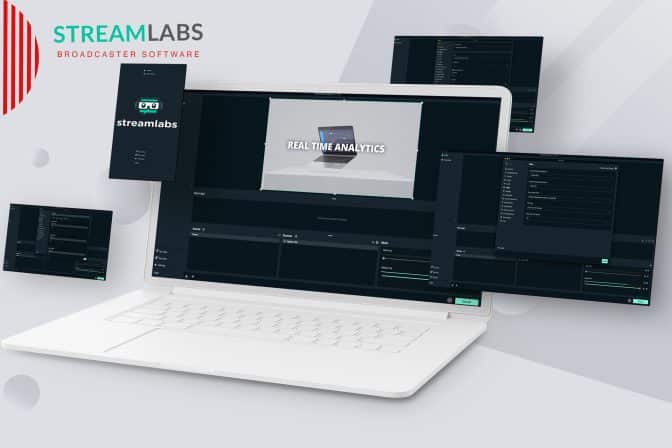
Streamlabs OBS
Read More
August 15, 2023
Video Software
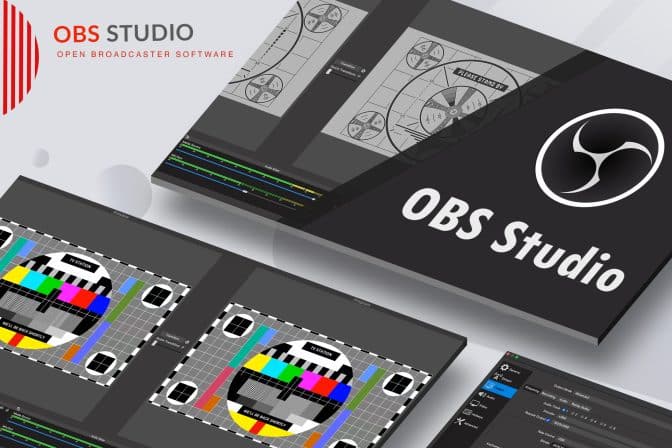
OBS Studio
Read More
August 15, 2023
WHMCS
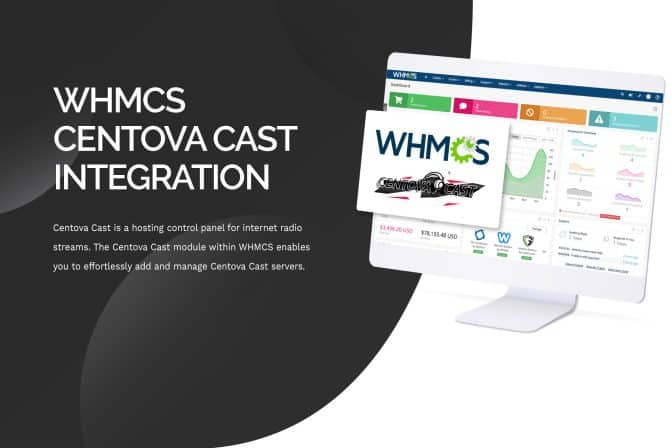
Centova Reseller WHMCS
Read More
August 15, 2023
WHMCS
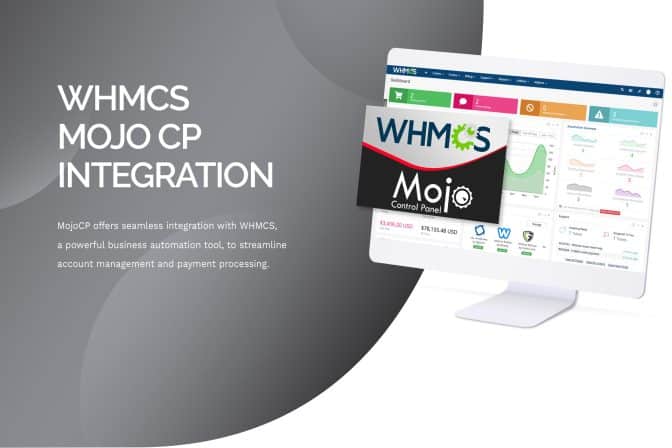
MiojoCP Reseller WHMCS
Read More
August 15, 2023
Radio Player
Radio Settings
Read More
August 15, 2023
Radio Player
Radio Tools
Read More
August 15, 2023
Radio Player
Radio Channels
Read More
August 15, 2023
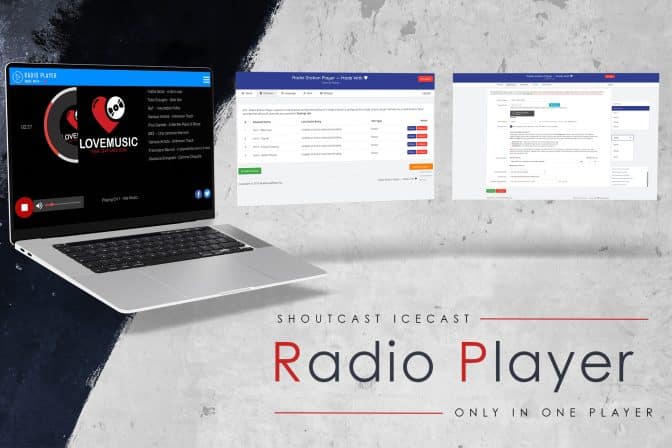
Radio Player
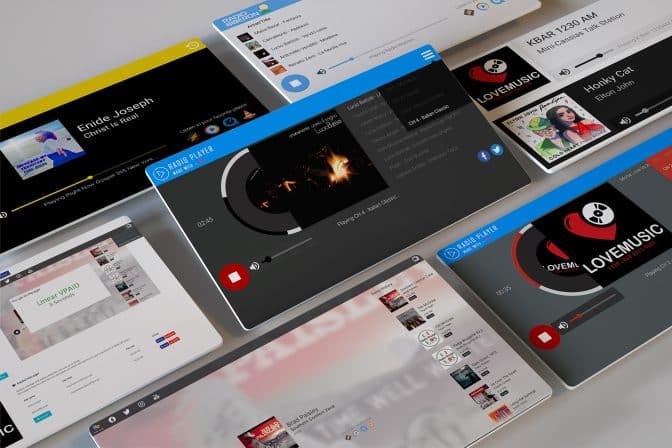
Radio Embed Player
Read More
August 15, 2023
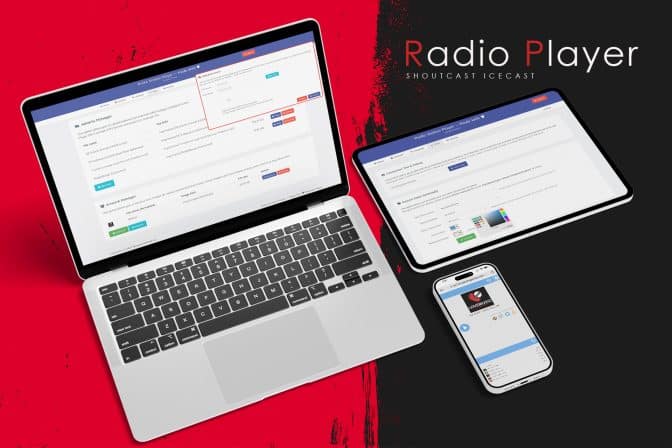
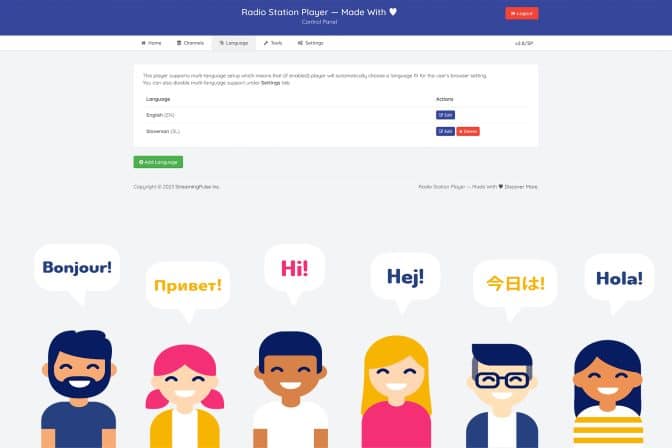
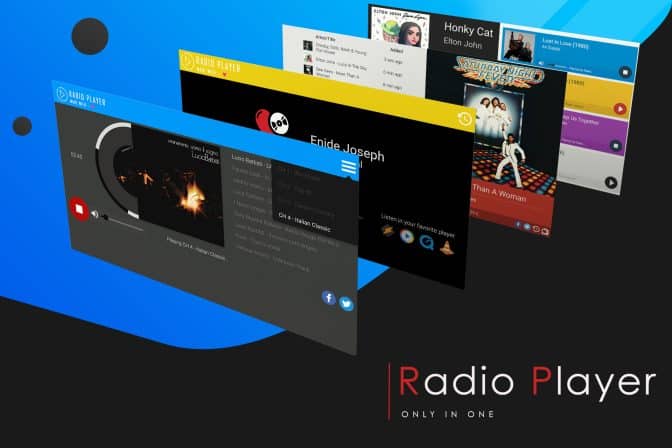
Radio Player
Player Language Support
Read More
August 15, 2023
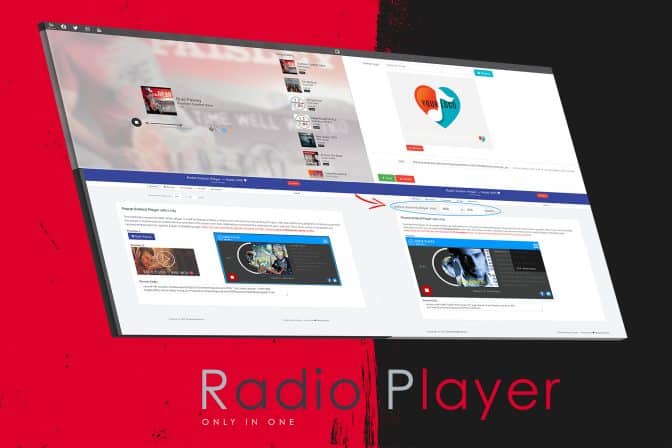
Radio Player
Radio Player Skins
Read More
August 15, 2023
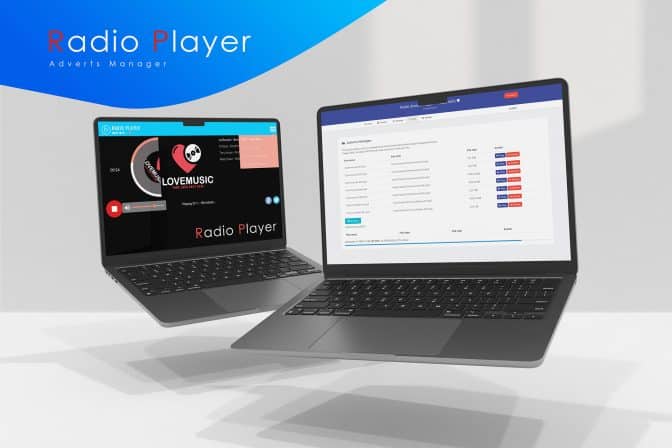
Radio Player
Audio Adverts Manager
Read More
August 15, 2023
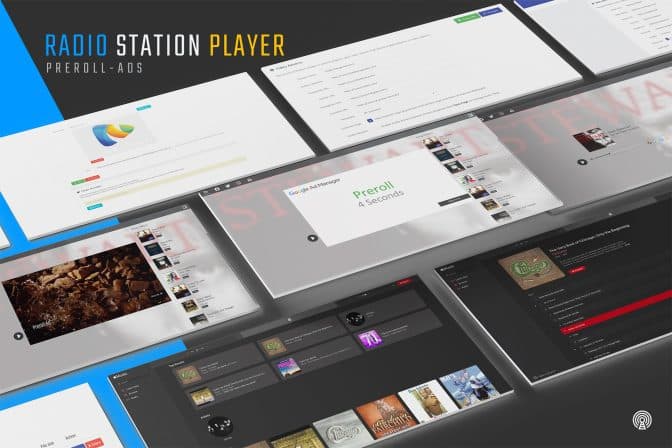
Radio Player
Radio Video Vast Tag
Read More
July 16, 2023
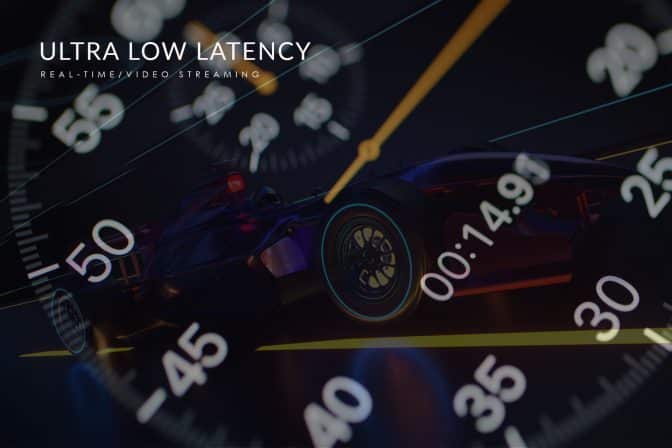
MojoCP
Low Latency
Read More
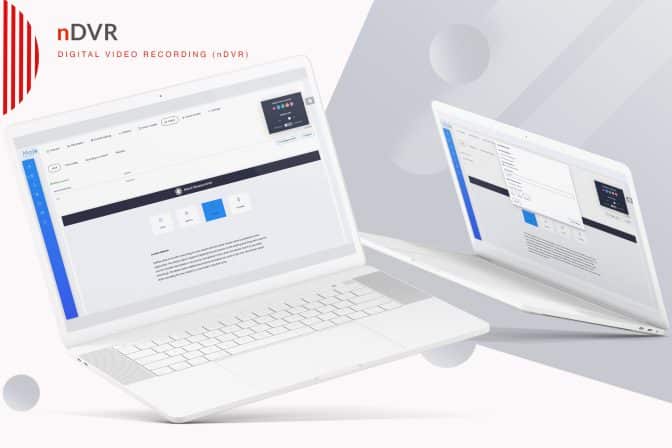
July 16, 2023
Plugins
nDVR Video Recorder
Read More
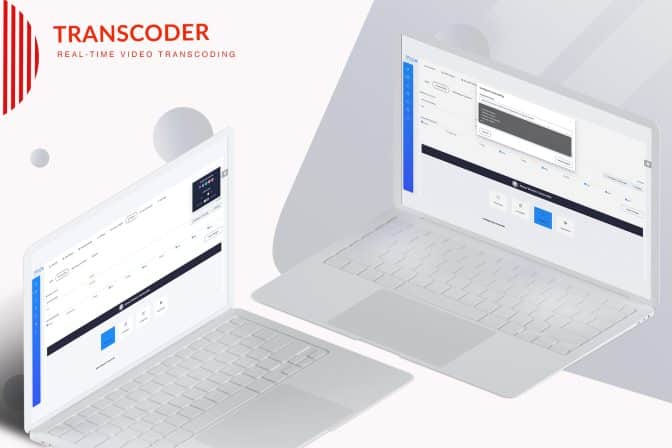
July 15, 2023
Plugins
Transcoder
Read More
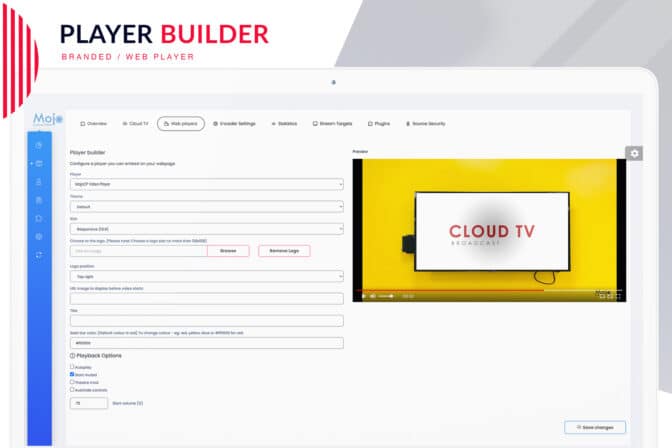
July 14, 2023
Plugins
Video Player Builder
Read More
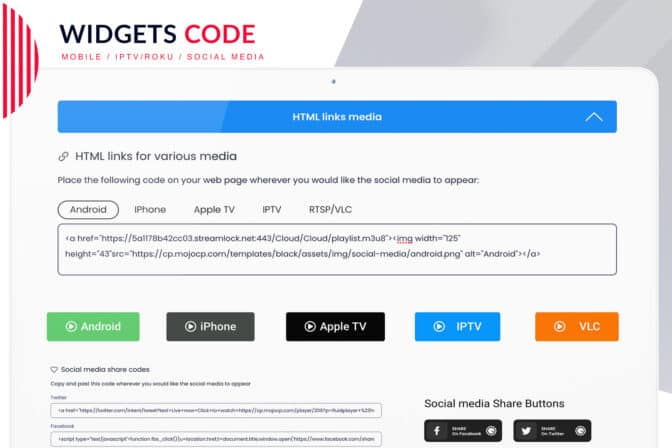
July 14, 2023
Plugins
Widget Code Integration
Read More
July 14, 2023
Plugins
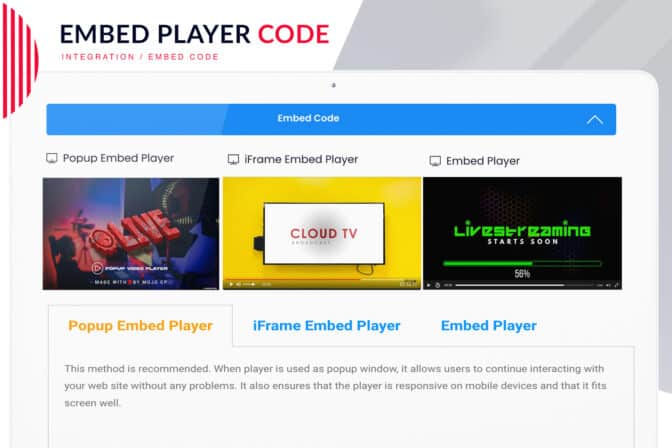
Player Integration Code
Read More
July 14, 2023
Plugins
Vast Tag
Read More
July 13, 2023
CloudTV
,
MojoCP
Stream Reports
Read More
July 13, 2023
CloudTV
,
MojoCP
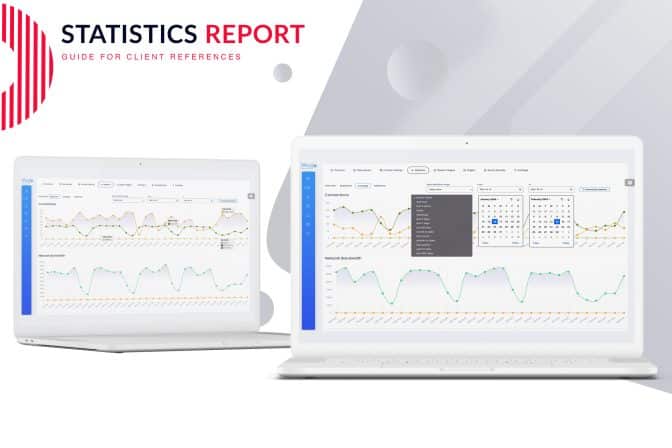
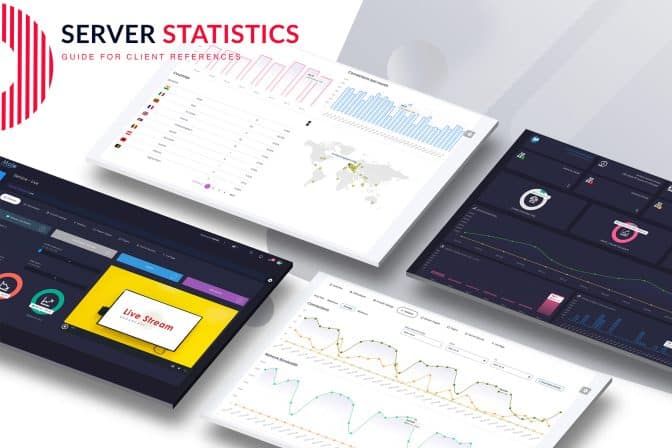
Server Statistics
Read More
June 14, 2023
CloudTV
,
MojoCP
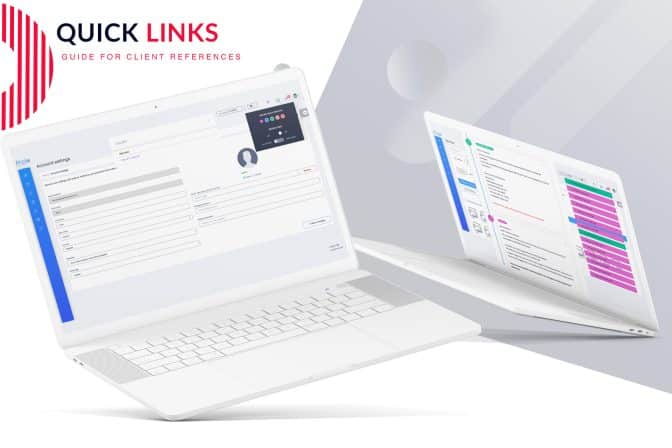
Quick Links
Read More
June 14, 2023
CloudTV
,
MojoCP
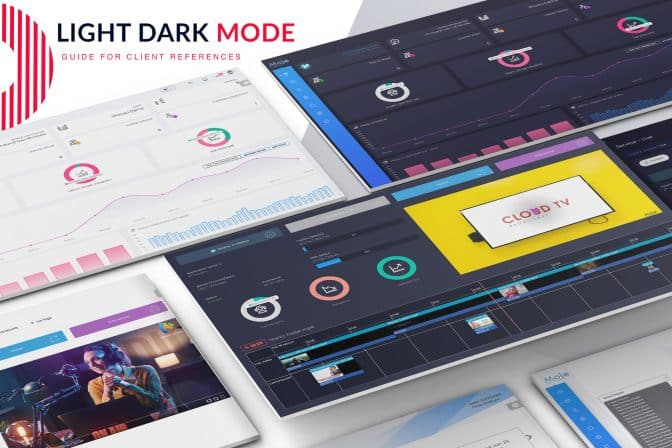
Light Dark Mode
Read More