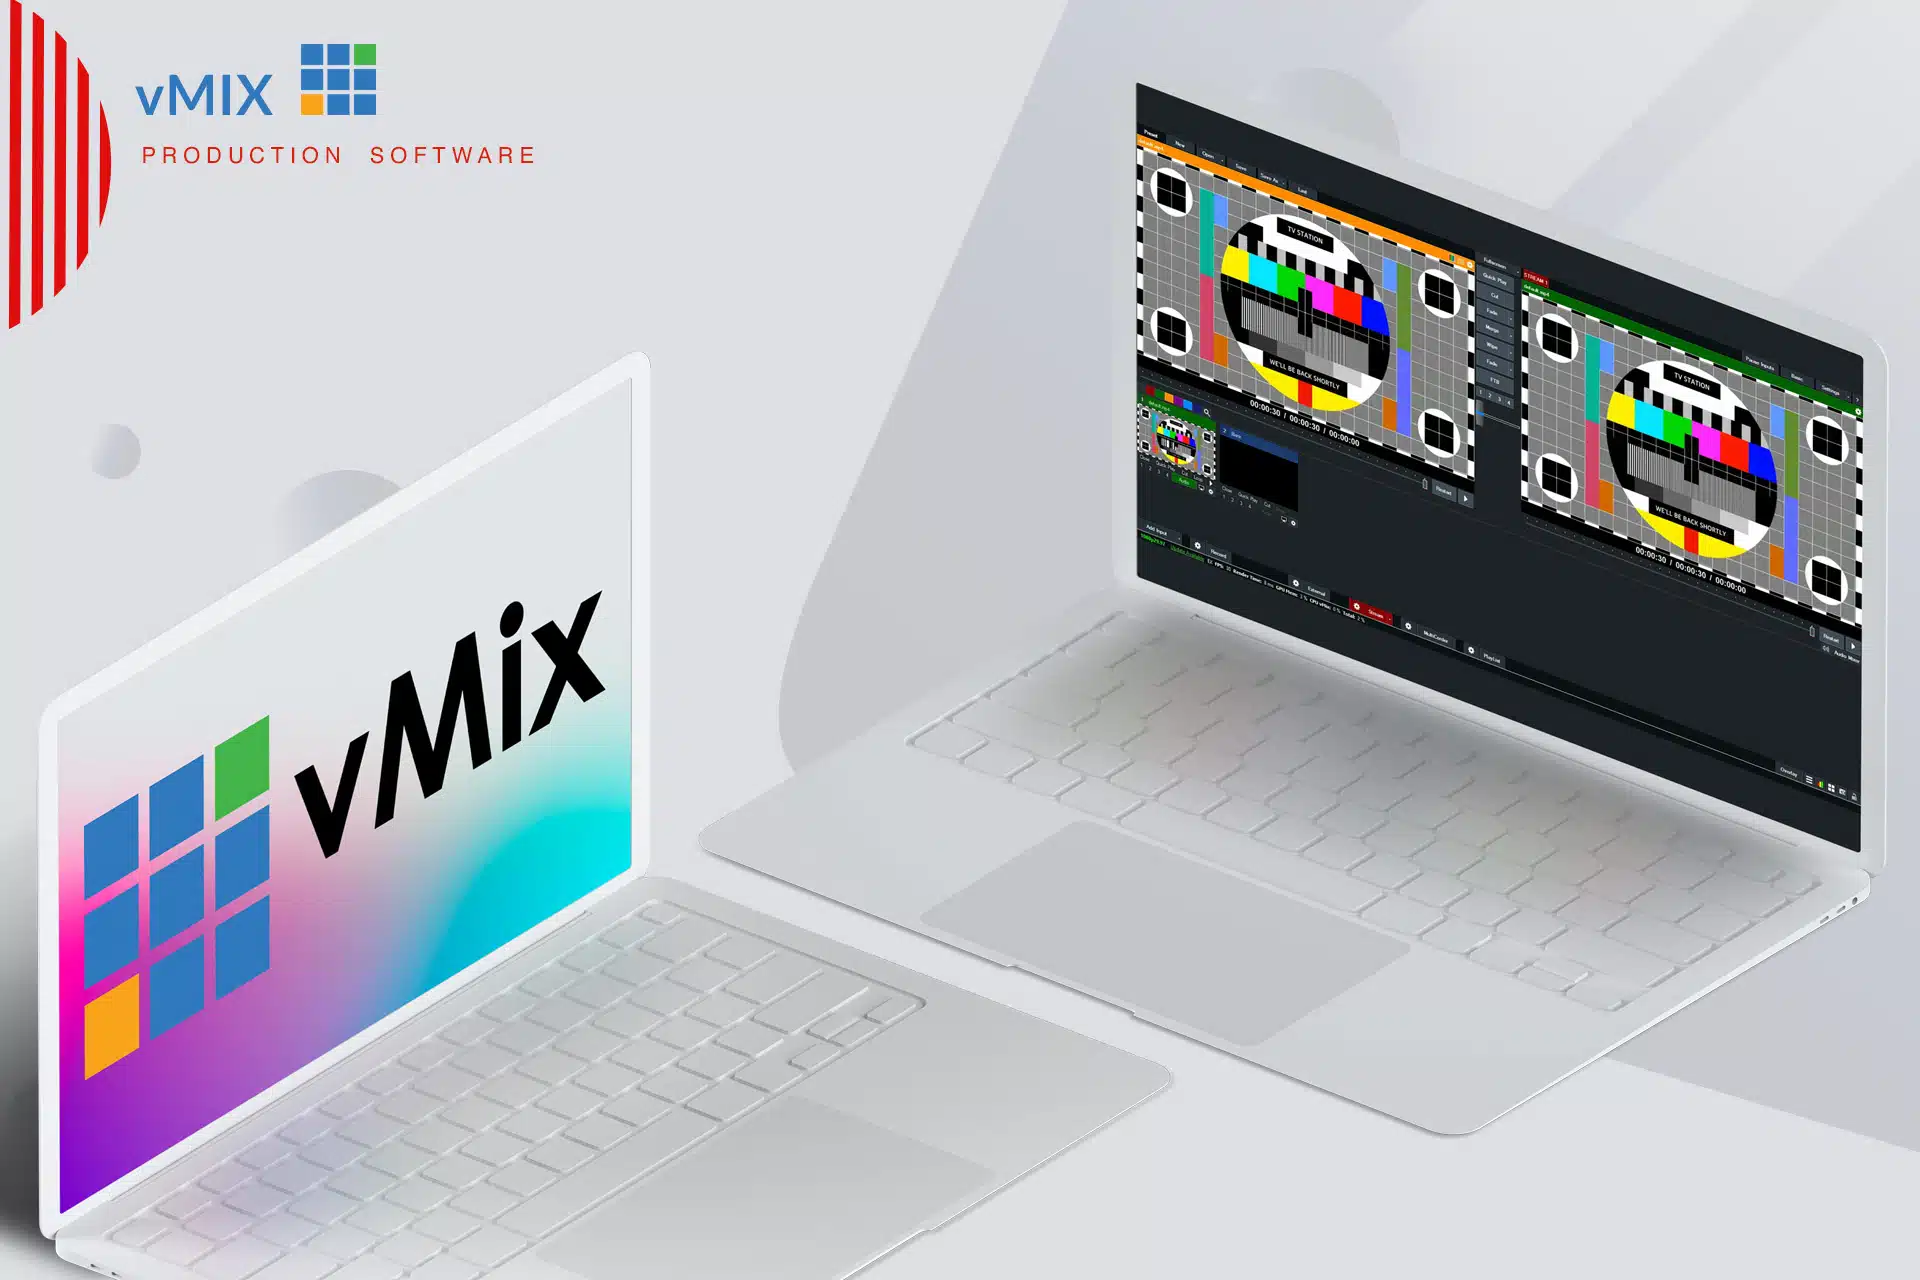
vMix An encoder acts as the vital link between the raw video files generated by a camera and the digital files required for seamless live streaming over the internet. Essentially, it ensures that video content can be transmitted smoothly online.
Introducing a Powerful Software Encoder:
Now, enter this powerful software, specifically designed for live streaming. In other words, the encoder effortlessly transmits digital video files to the streaming platform in real-time, ensuring a smooth and uninterrupted experience. As a result, your audience enjoys flawless streaming.
Efficiency: Reducing CPU Strain:
What truly sets this encoder apart is its robust feature set. Unlike many other tools, it handles streaming tasks with remarkable efficiency, which in turn reduces strain on your CPU resources. This is especially important, because many encoders tend to monopolize system resources when used on laptops or desktops. On the other hand, this software makes streaming much easier on your system.
Stream to Multiple Platforms Simultaneously:
Moreover, it stands out by offering simultaneous streaming to up to three destinations. As a result, you can easily reach multiple audiences or platforms at the same time, increasing your reach and flexibility. Thus, it helps you maximize the impact of your streaming efforts.
Elevate Your Streaming Experience:
In summary, whether you're hosting engaging webinars, company-wide meetings, or captivating podcasts, this encoder empowers you to deliver an immersive and flawless streaming experience. Ultimately, harness its power for all your live event encoding needs, and take your broadcasts to the next level.
Click to zoom in on the image
Essential Encoder Configuration
To ensure a seamless live streaming experience with StreamingPulse, it's imperative to adhere to the following encoder settings. These settings are universal, catering to various resolutions and bitrates to guarantee optimal performance:
Video Codec: H.264 (x264 is also compatible) Frame Rate: 25 or 30 frames per second (World standard definition: 25fps / 50fps) Keyframe Interval: 2 seconds (Please use a keyframe frequency of 2 seconds or less.) Scanning: Progressive Encoding Bitrate: Constant (CBR) Audio Codec: AAC Audio Bitrate: 128 kbps Audio Channels: 2 (Stereo) Audio Sample Rate: 48 kHz (48,000 Hz)
Configuring Streaming Settings for StreamingPulse:
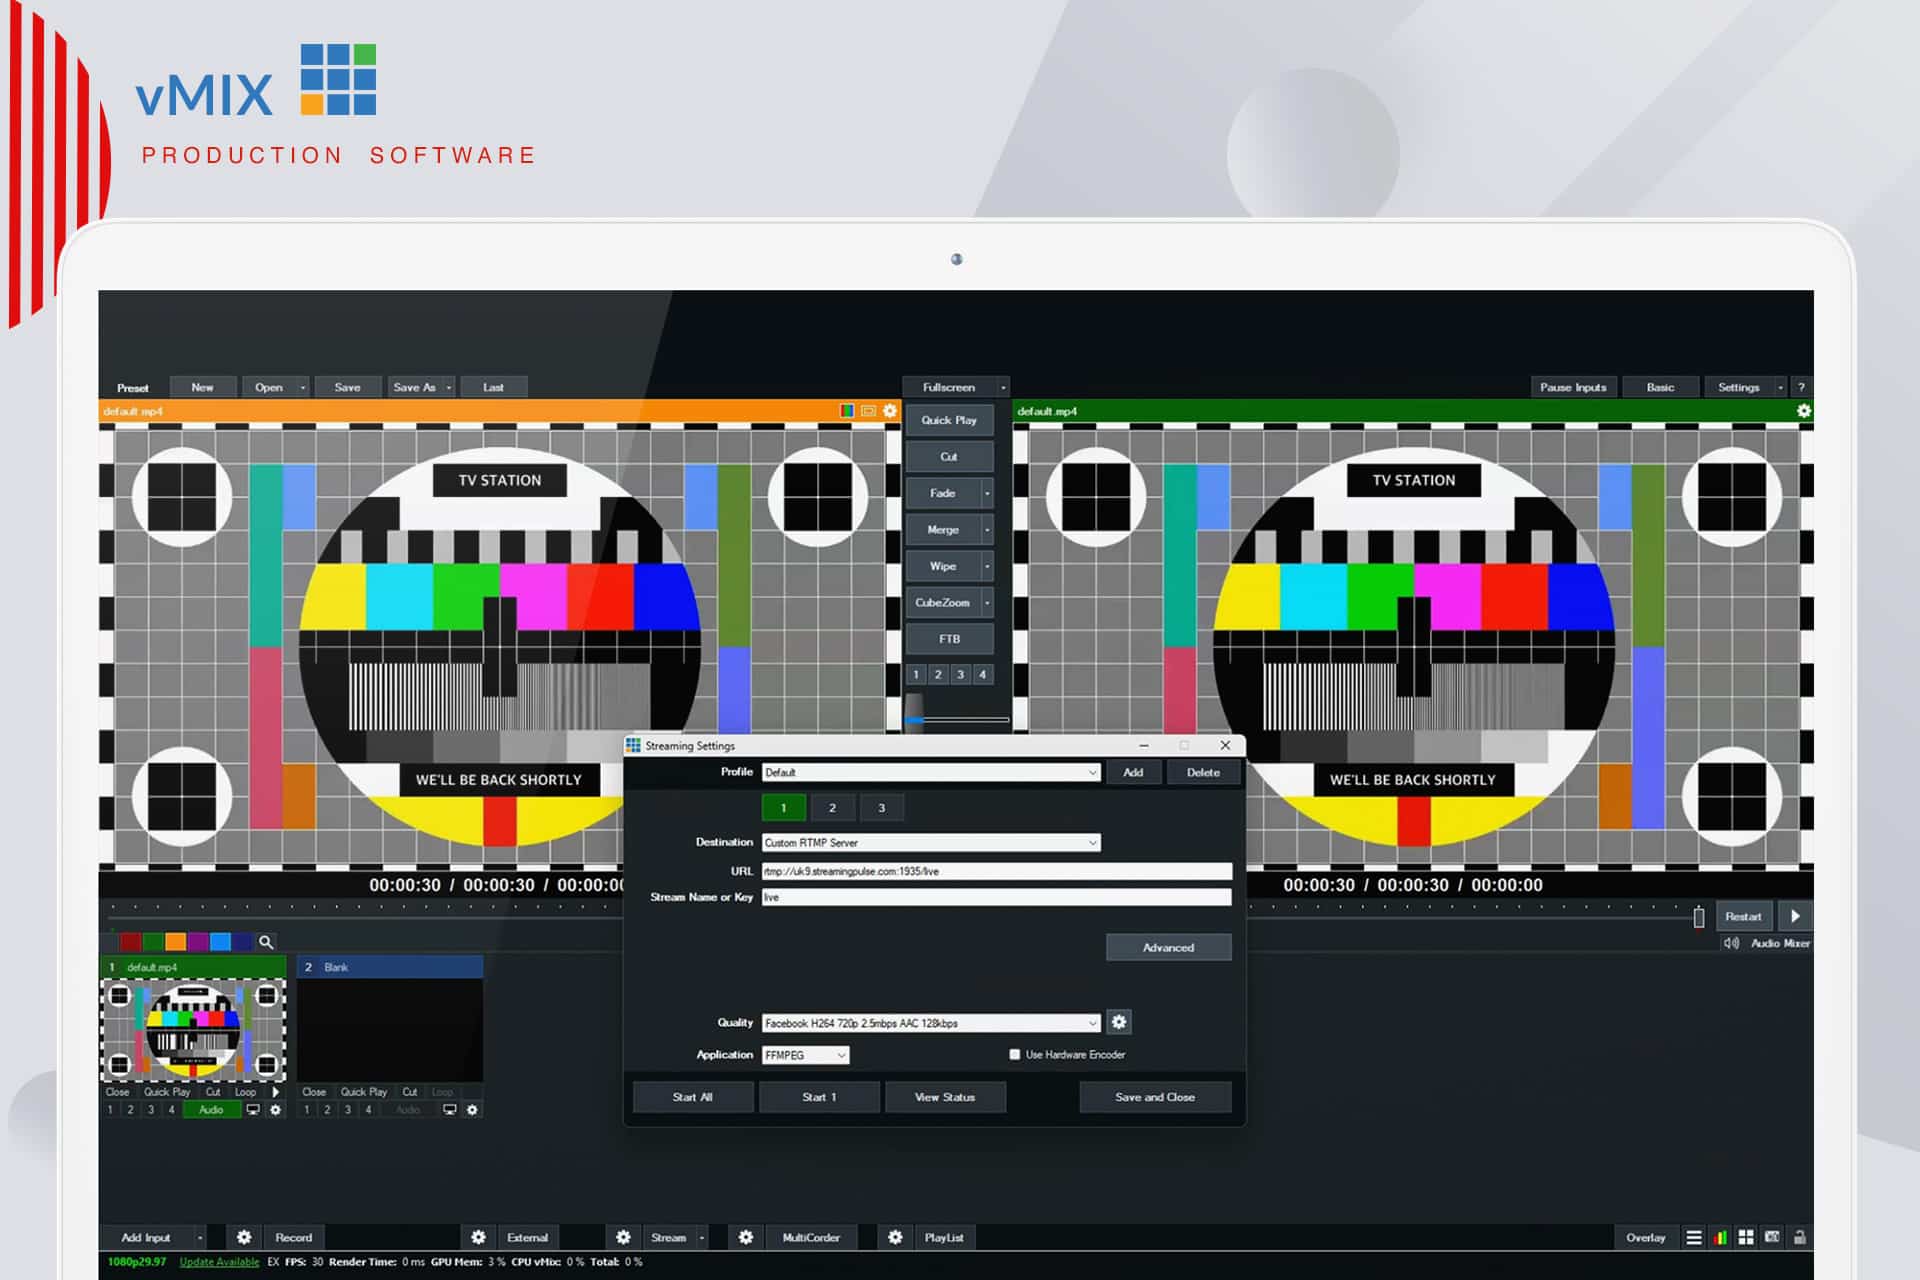
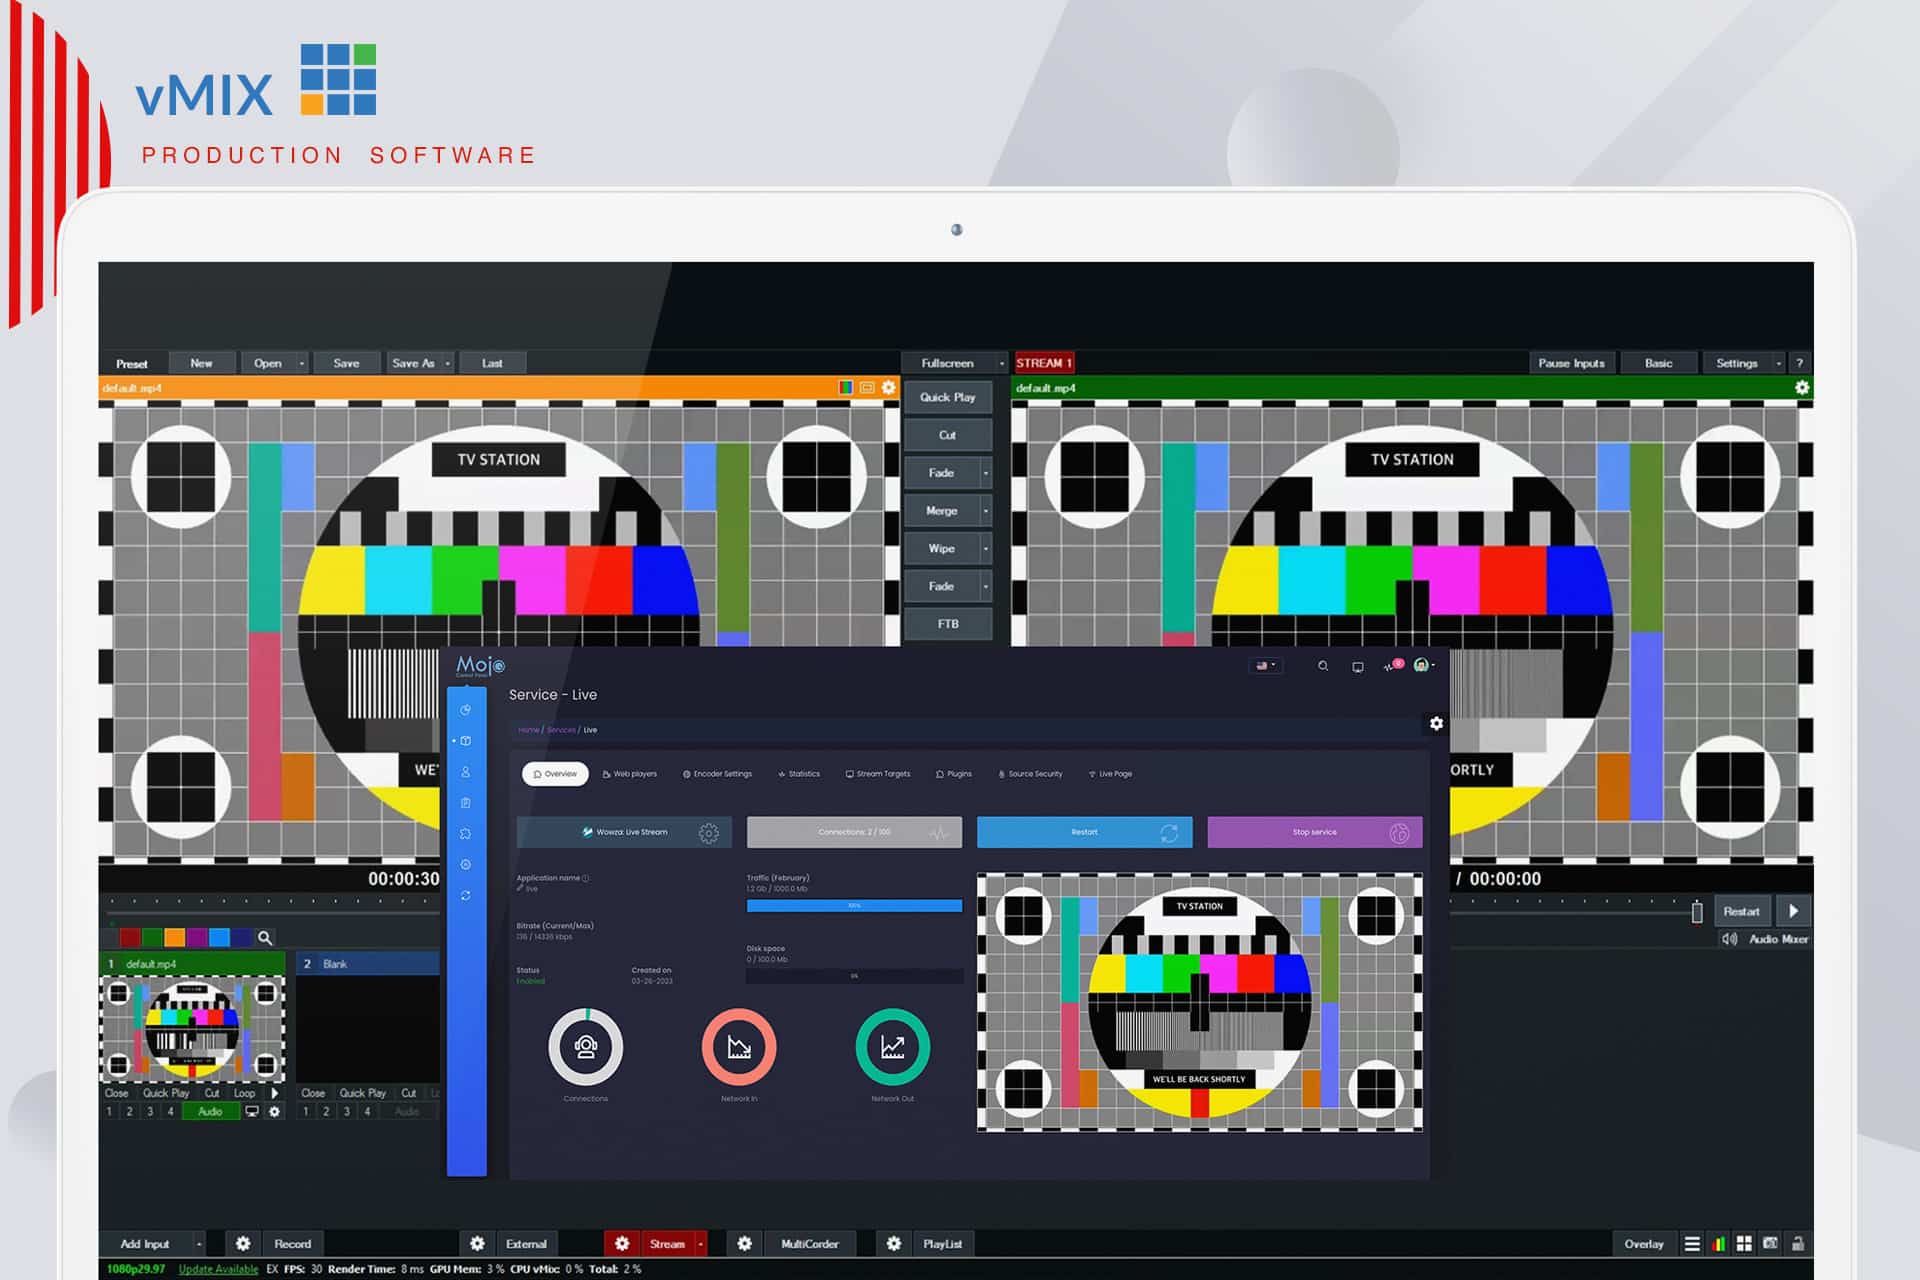
After setting up your input, the next crucial step is to configure your stream, defining the path for your live content to flow seamlessly through the internet. Begin by clicking the gear icon located to the left of the word "STREAM" at the bottom of the layout.
Live Stream with a Custom RTMP Server Method
We've simplified this process into steps within your StreamingPulse account and those required within vMix. Step 1: Navigate to the MojoCP Platform's "Services" menu from your dashboard and select the designated server. Step 2: Head to the Encoder Settings Tab and choose vMix. Step 3: Copy and paste the Live streaming info for your vMix, including FMS Url, Stream Key, Username, and Password.
It will resemble something similar to the following.
FMS URL: rtmp://141.91.218.32:1935/livetv
Stream Key: livetv
Username: livetv
Password: demo
Step 4: Within the vMix encoder, select "Custom RTMP Server" from the drop-down menu for DESTINATION. Copy and paste the RTMP URL and Stream Name Key from your MojoCP account into your vMix encoder. Step 5: Click "ADVANCED" in the vMix encoder. Here, copy and paste the Username and Password from your MojoCP account. Once filled, click "OK."
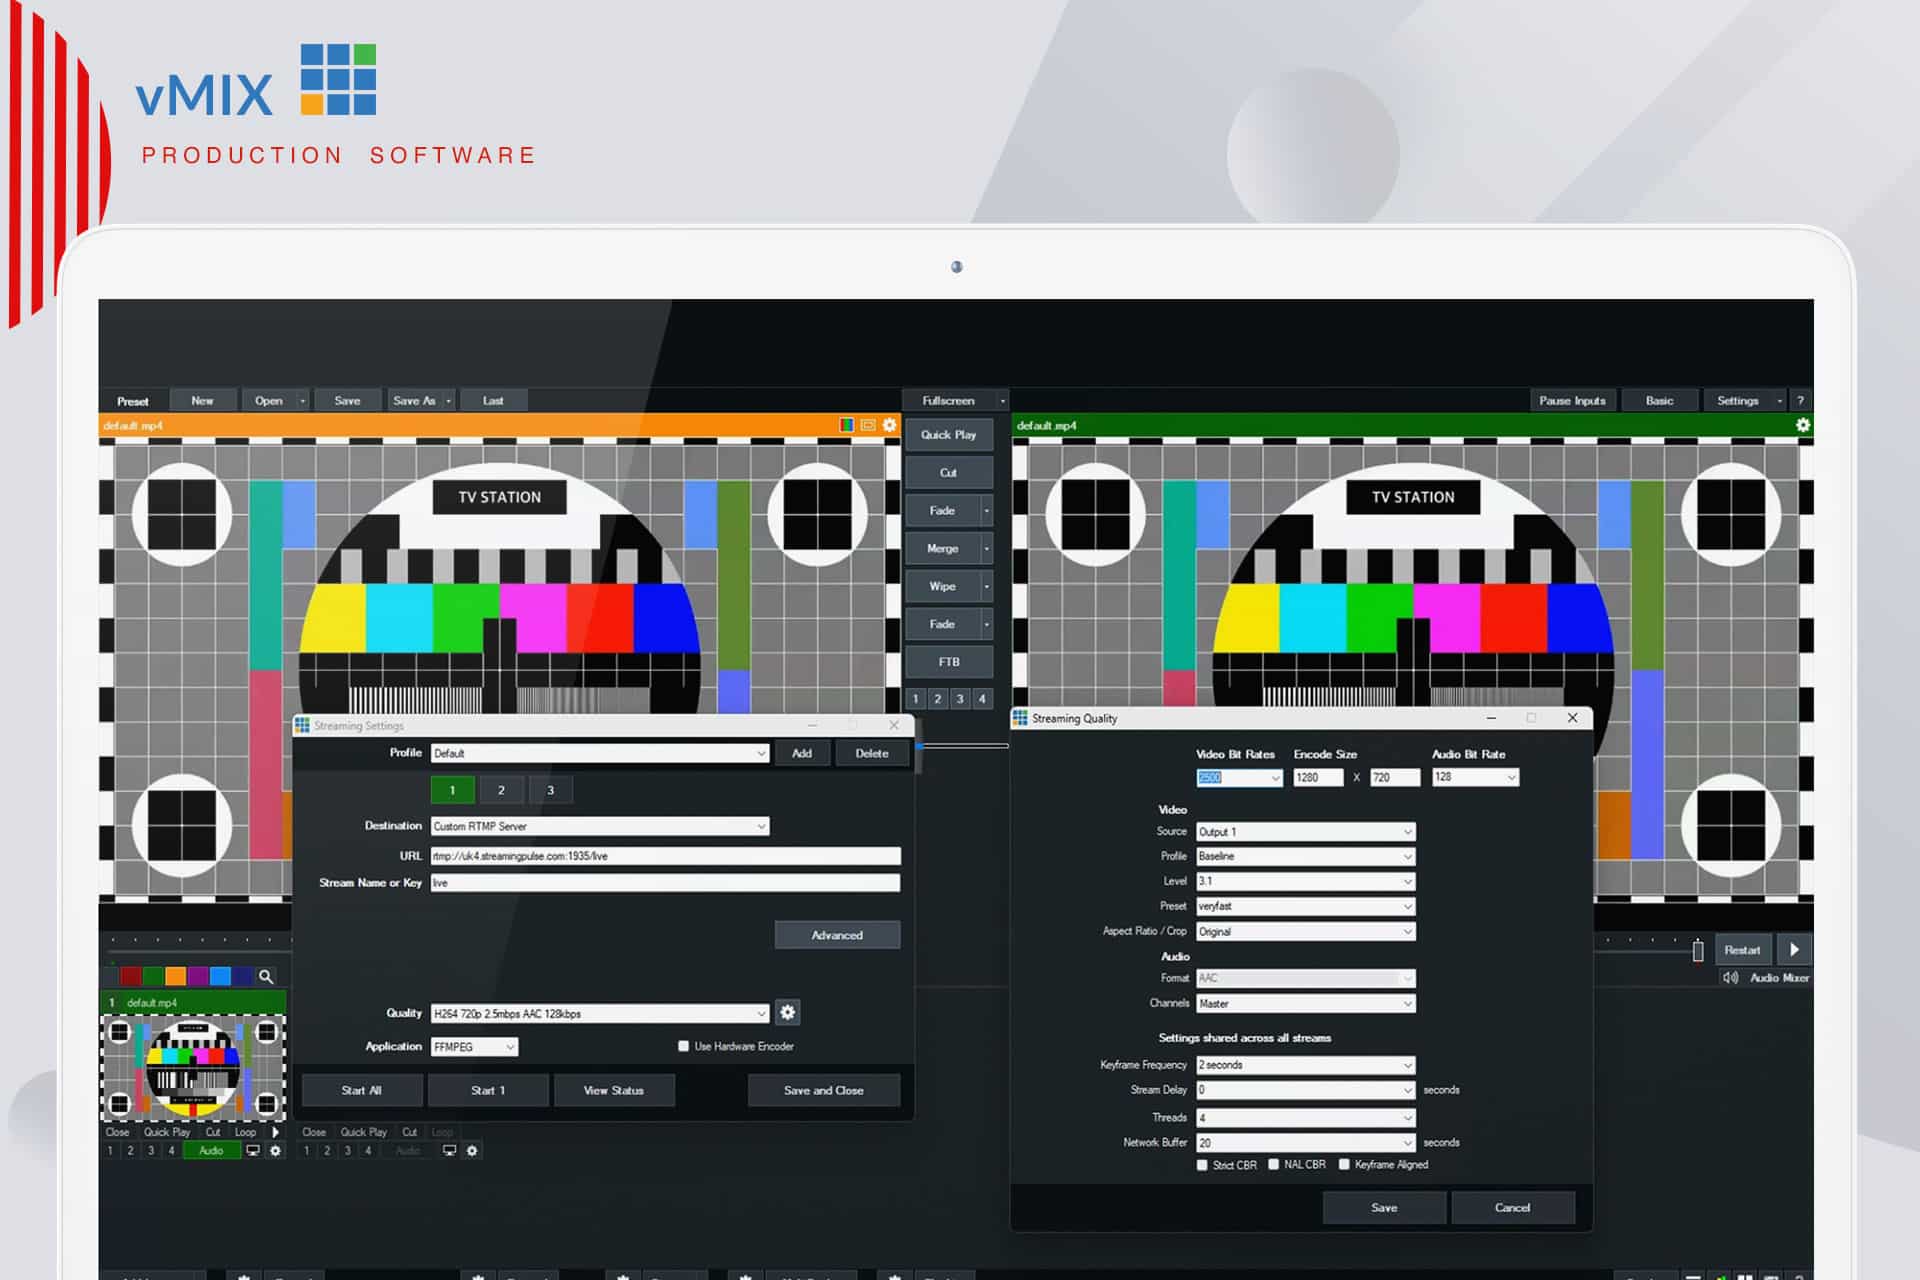
Step 6: After completing these steps, you're prepared to live stream with StreamingPulse.
As mentioned earlier, during the StreamingPulse destination method, consider adjusting the quality setting. The default is 1.5mbps (kbps.) H264 720p. Choose a setting that aligns with your upload speed and target audience.
Once satisfied with your streaming settings, click "SAVE and START ALL" to commence your streaming journey with ease.
Setting itself apart with a robust feature set, vMix is not just any encoder—it's a powerhouse. What sets it apart is its ability to handle streaming tasks with remarkable efficiency, minimizing the strain on your CPU resources. This is a notable advantage, considering that many encoders tend to monopolize system resources when deployed on laptops or desktops.
Quick Video Tutorial
Explore our step-by-step video tutorial on setting up vMix encoding. Follow along with ease to ensure a seamless and professional streaming experience. Watch the tutorial now Happy streaming!