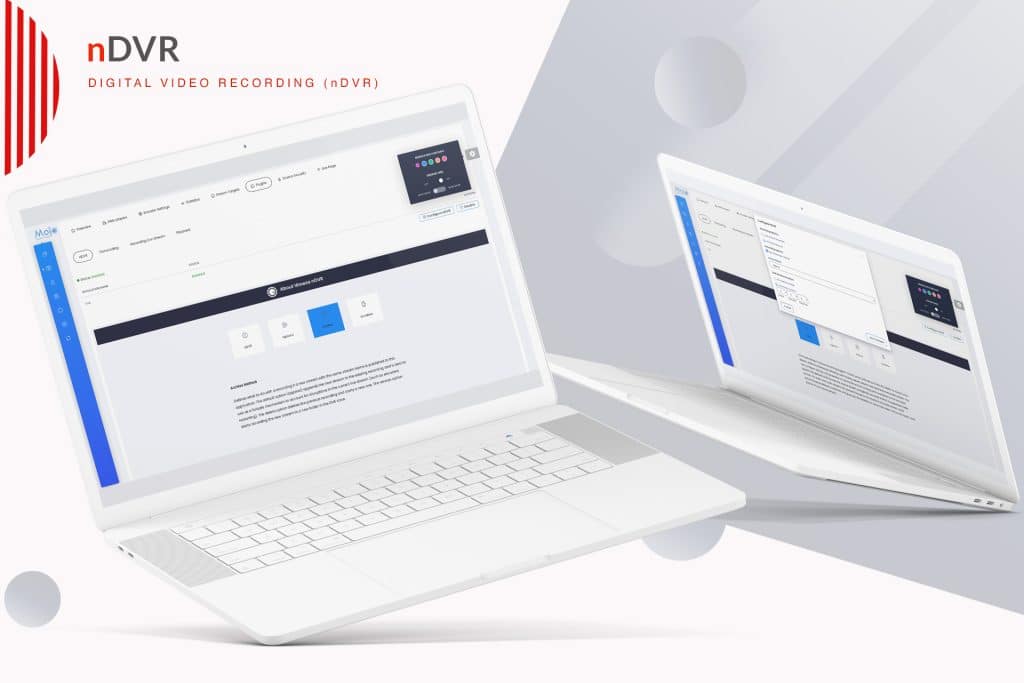
About nDVR
Unlock the Power of Navigable Digital Video Recording (nDVR) Features
Navigable Digital Video Recording (nDVR) features empower your audience to enjoy live video streams. With these features, viewers can easily pause, rewind, and replay content at their leisure. This flexibility proves invaluable during sporting events, concerts, and other live spectacles, as it allows viewers to revisit specific highlights or missed segments.
Moreover, our advanced nDVR features store live video streams in the cloud. This capability grants your audience the freedom to access recorded content on-demand, without disrupting the live broadcast. By using MojoCP alongside the Wowza Streaming Engine, you can significantly enhance your streaming capabilities. These technologies seamlessly work together to provide better performance and reliability for both content creators and viewers.
Furthermore, integrating nDVR features allows you to deliver an unmatched viewing experience. As a result, your audience can enjoy your content whenever they choose. Whether you are streaming live events or creating original material, implementing nDVR features is essential for elevating your streaming efforts.
In addition, effective management and control of live streams through nDVR capabilities allow you to cater to diverse audience preferences. This approach ensures that everyone stays engaged. As viewers increasingly seek flexible and user-friendly options, utilizing nDVR features in your strategy becomes vital for success in the competitive online media landscape.
Ultimately, by embracing the full potential of nDVR features, you can create compelling viewing experiences that resonate with your audience. With our technology, your broadcasts can reach new heights of interactivity and engagement.
Click to zoom in on the image
Configure the nDVR
Step 1:
Access the "Services" section from your dashboard and choose your designated server.
Step 2:
Navigate to the "Plugins Tab" and then select the "nDVR" tab.
Step 3:
Enable the nDVR by clicking the "Enable" button.
Step 4:
Select "Configure nDVR" to begin the configuration process.
Step 5:
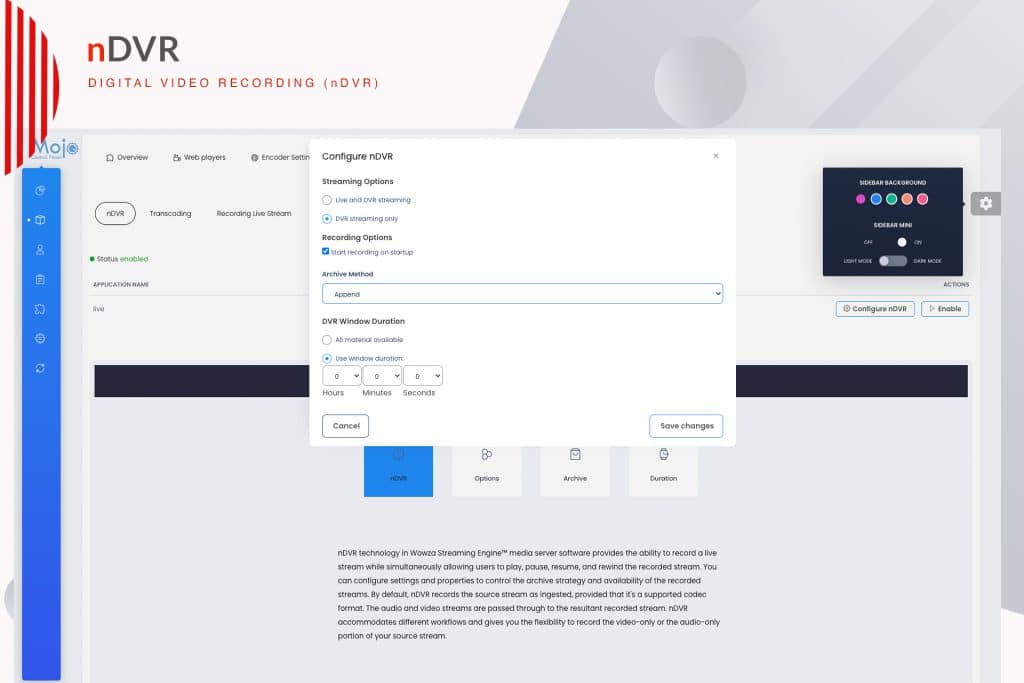
Configure your streaming and recording options:Streaming Options:
- Live and DVR streaming (By Default keep this tick)
- DVR streaming only
Recording Options:
- Start recording on startup (Tick this option)
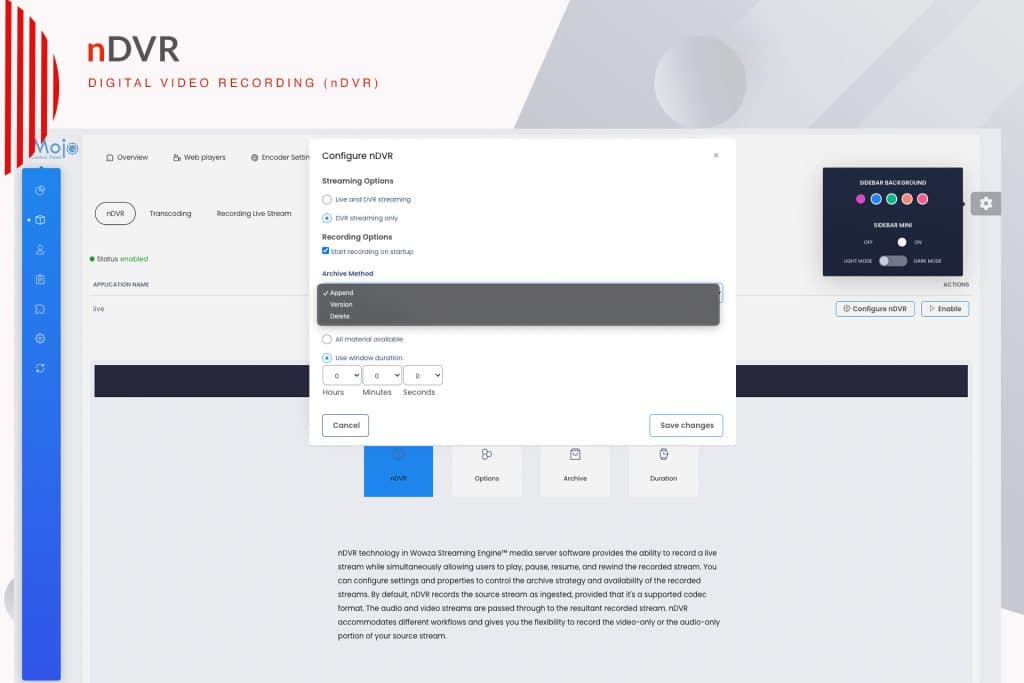
Step 6: Choose the Archive Method:
- Append
- Version
- Delete
Step 7: Define the DVR Window Duration:
- Option 1: All material available
- Option 2 (Default): Use window duration (Hours - Minutes - Seconds)
Step 8:
Click "Save" to apply and save the changes. Your nDVR is now fully functional for your live streaming applications.Explanations of nDVR functionality.
Streaming Options:
Specifies how an incoming live stream can be played back by indicating whether the ?DVR query parameter must be appended to playback URLs.To specify that a live stream can be played with or without the DVR playback controls in a player, select Live and DVR streaming. This option means that the live stream is available for playback with or without the ?DVR query parameter appended to playback URLs. If ?DVR isn’t appended to the playback URL, the live stream can still be played but DVR playback isn’t supported.
To specify that a live stream can only be played using the DVR playback controls in a player, select DVR streaming only. This option means that the ?DVR query parameter must be appended to playback URLs.
Start Recording on Startup:
Enables you to automatically start recording a live stream that’s published to the server for DVR.Archive Method:
Defines what to do with a recording if a new stream with the same stream name is published to this application. The default option (append) appends the new stream to the existing recording and is best to use as a failsafe mechanism to account for disruptions in the current live stream (such as encoders restarting). The delete option deletes the previous recording and starts a new one. The version option starts recording the new stream to a new folder in the DVR store.DVR Window Duration:
Specifies the amount of recorded material in the DVR store that’s available for DVR playback.
To make the entire recording available for playback, select All material available.
This option enables viewers who join the live stream in-progress to rewind and watch the stream from the beginning. This option also preserves the live stream recording after the stream ends.To make only part of the live stream available for playback, select Use window duration and then specify the duration in Hours:Minutes:Seconds. The minimum supported duration value is 60 seconds.
This option enables viewers who join the live stream in-progress to rewind the stream for the duration that you specify and watch from that point forward. The duration window is a ‘floating window’ that always ends at the current live point. Recorded data that falls outside this window is purged from the DVR store.
You can record up to 30 hours of material for DVR playback; however, you may encounter performance and playback issues if you make longer durations of material available for playback.
- Streaming Pulse Inc.
Digital Video
With nDVR, users can pause, rewind, and replay live streams, eliminating the fear of missing out on critical moments. The system efficiently stores live video streams in the cloud, enabling on-demand access without disrupting the ongoing broadcast. This dynamic solution is particularly valuable for various applications, including sporting events, concerts, and live presentations.
Comprehensive Guidance:
Learn how to customize streaming options, recording preferences, and explore various archive methods to tailor nDVR to your needs.


