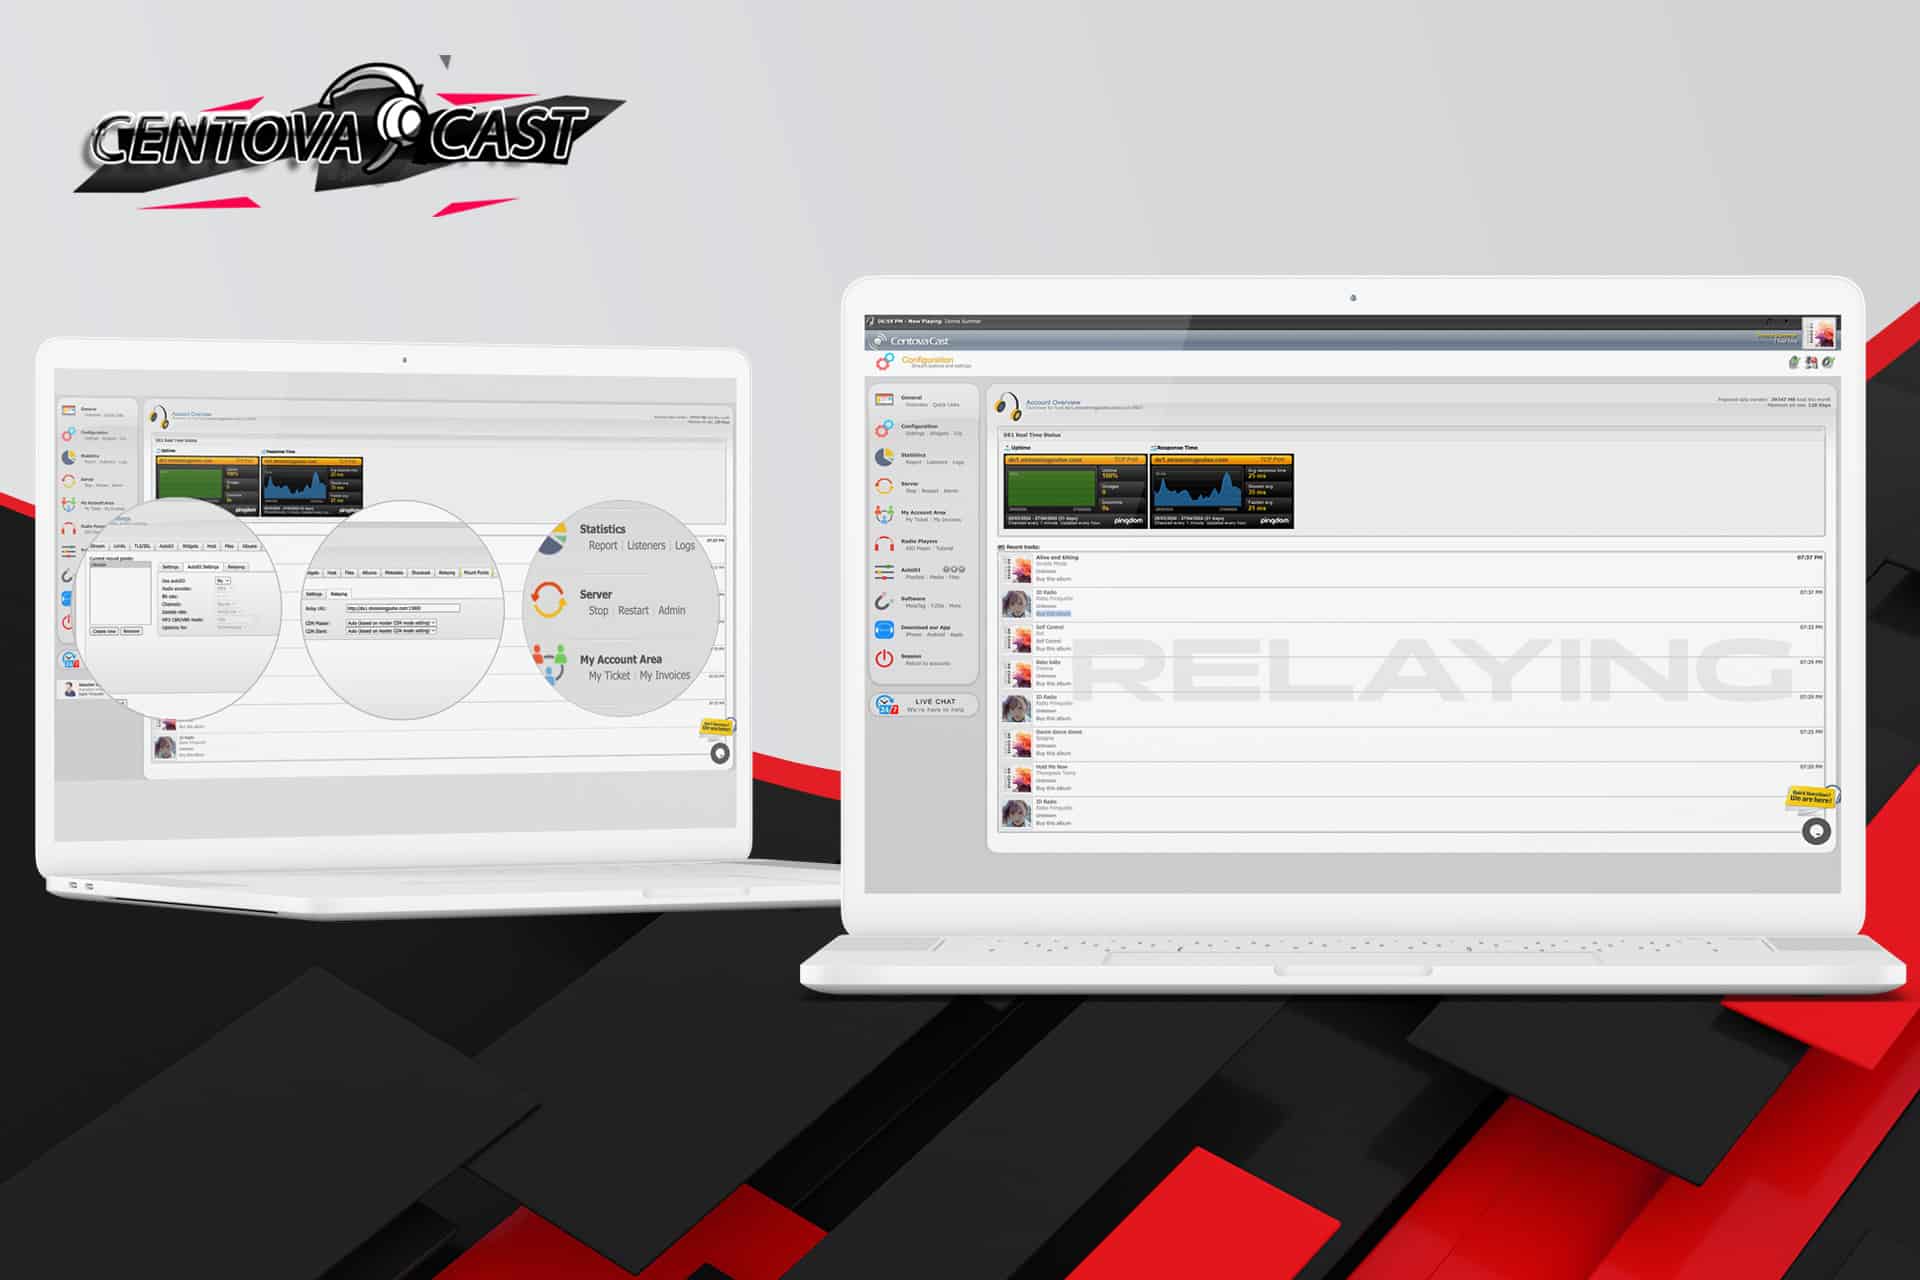
Centova Cast Relaying Stream
The Centova Cast relaying feature provides comprehensive control over how other servers can relay your stream. By utilizing the relay settings in Centova Cast, you can efficiently manage permissions for remote servers that rebroadcast your content. This ensures that your audio streams are shared with the right audience while maintaining control over the quality and availability of your broadcasts.
If you need to rebroadcast a stream from another server, you'll find those options conveniently located in the Mount Points tab of the Centova Cast platform. This functionality allows for seamless integration and relaying streams with Centova Cast, enabling you to extend your reach and audience engagement.
When configuring your Centova Cast stream relaying, it is essential to set the correct permissions to ensure that your content is relayed properly. By following the step-by-step guidelines, you can customize your Centova Cast stream management settings to fit your broadcasting needs.
Moreover, the relay functionality in Centova Cast allows you to monitor performance and make necessary adjustments. This adaptability ensures a smooth broadcasting experience for your listeners, regardless of the platform they choose to use.
In conclusion, mastering the Centova Cast relaying feature not only enhances your broadcasting capabilities but also improves the overall listener experience. Take full advantage of this powerful tool to manage and distribute your content effectively.
Enhanced Relay Control (SHOUTcast v2):
In the Relay tab, you'll find advanced settings to manage how other servers relay your stream.
Please note that these settings govern the permissions for remote servers to rebroadcast your stream. If you're looking to rebroadcast a remote stream from your server, you'll find those options under the Mount Points tab.
To set up relaying:
- 1. Navigate to the Settings section under the Configuration heading in the left-hand navigation panel.
- 2. Select the Mount Points tab. If you don't see this option, ensure you are in the correct SHOUTcast v2 section.
- 3. Click "Create new" to generate a new mount point.
- 4. Choose the newly created mount point and access the Settings tab.
- 5. Enter a suitable path for the relay mount point in the Stream path field (e.g., /myrelay).
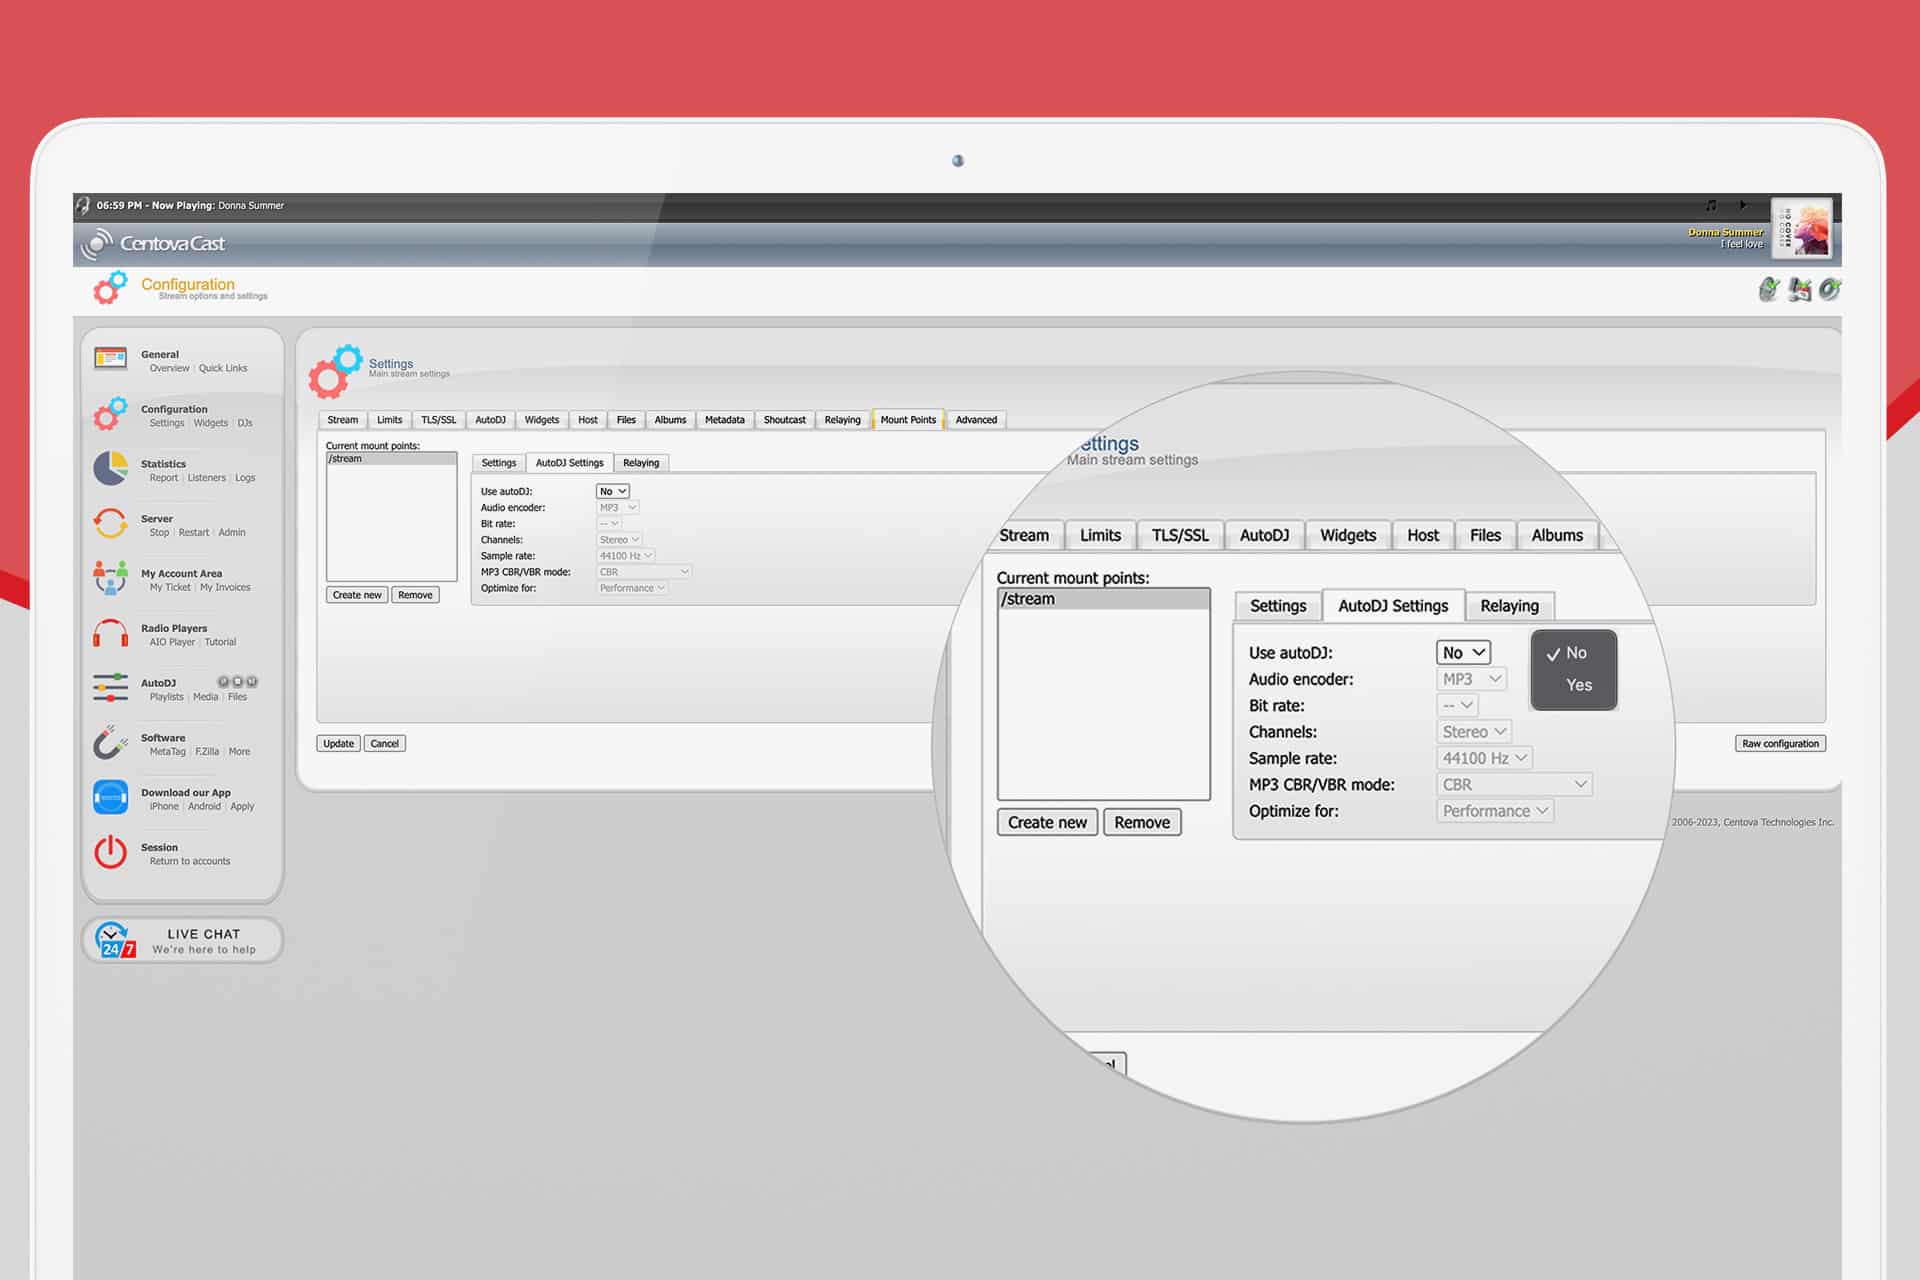
- 6. Switch to the AutoDJ tab and confirm that "Use autoDJ" is set to No.
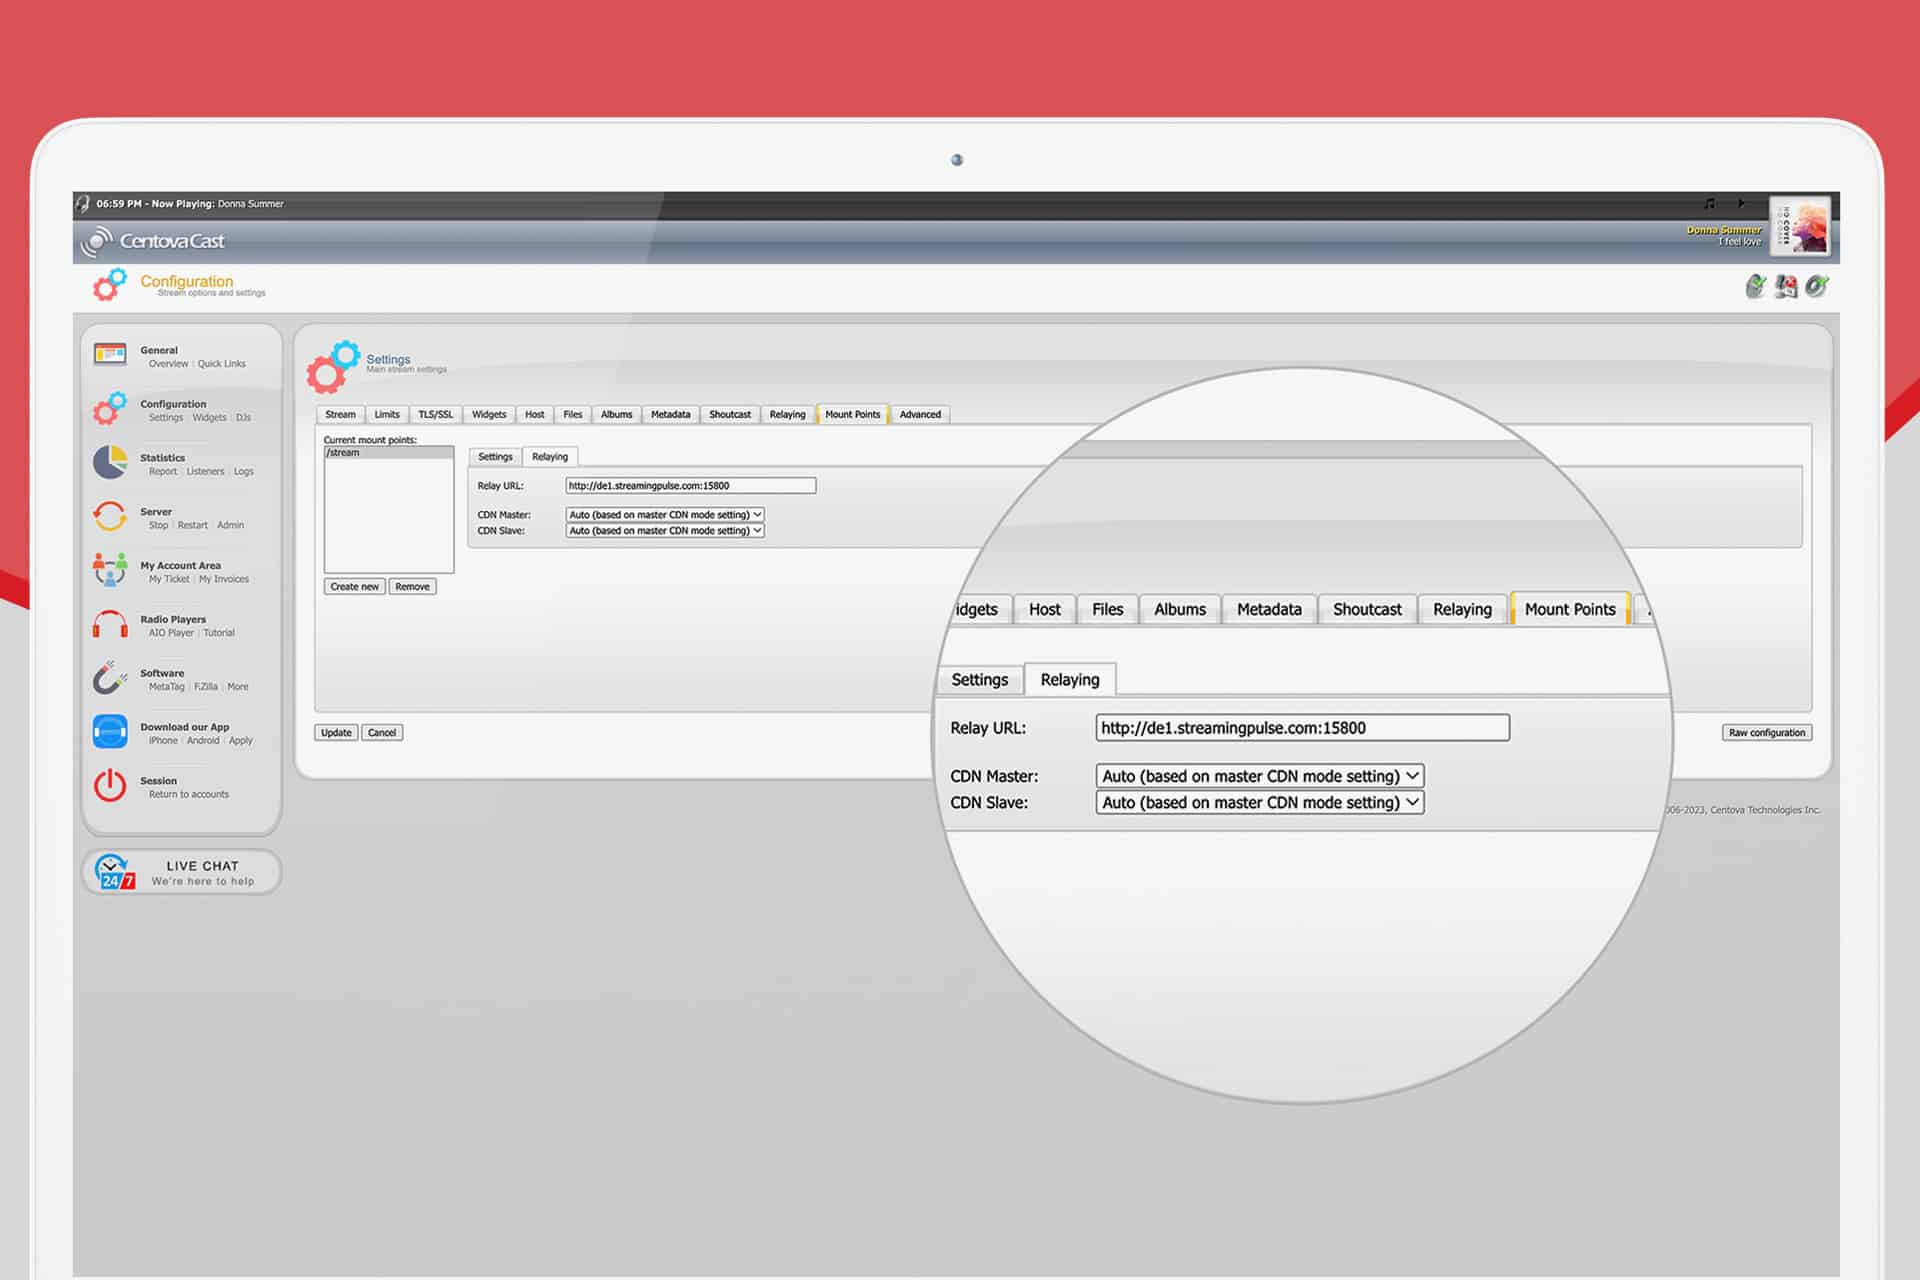
- 7. Proceed to the Relaying tab.
- 8. Input the complete URL of the remote stream you want to relay in the Relay URL field
(e.g., http://us1.example.com:8000/stream for SHOUTcast v2 with mount points).- 9. Click "Update" to save your changes.
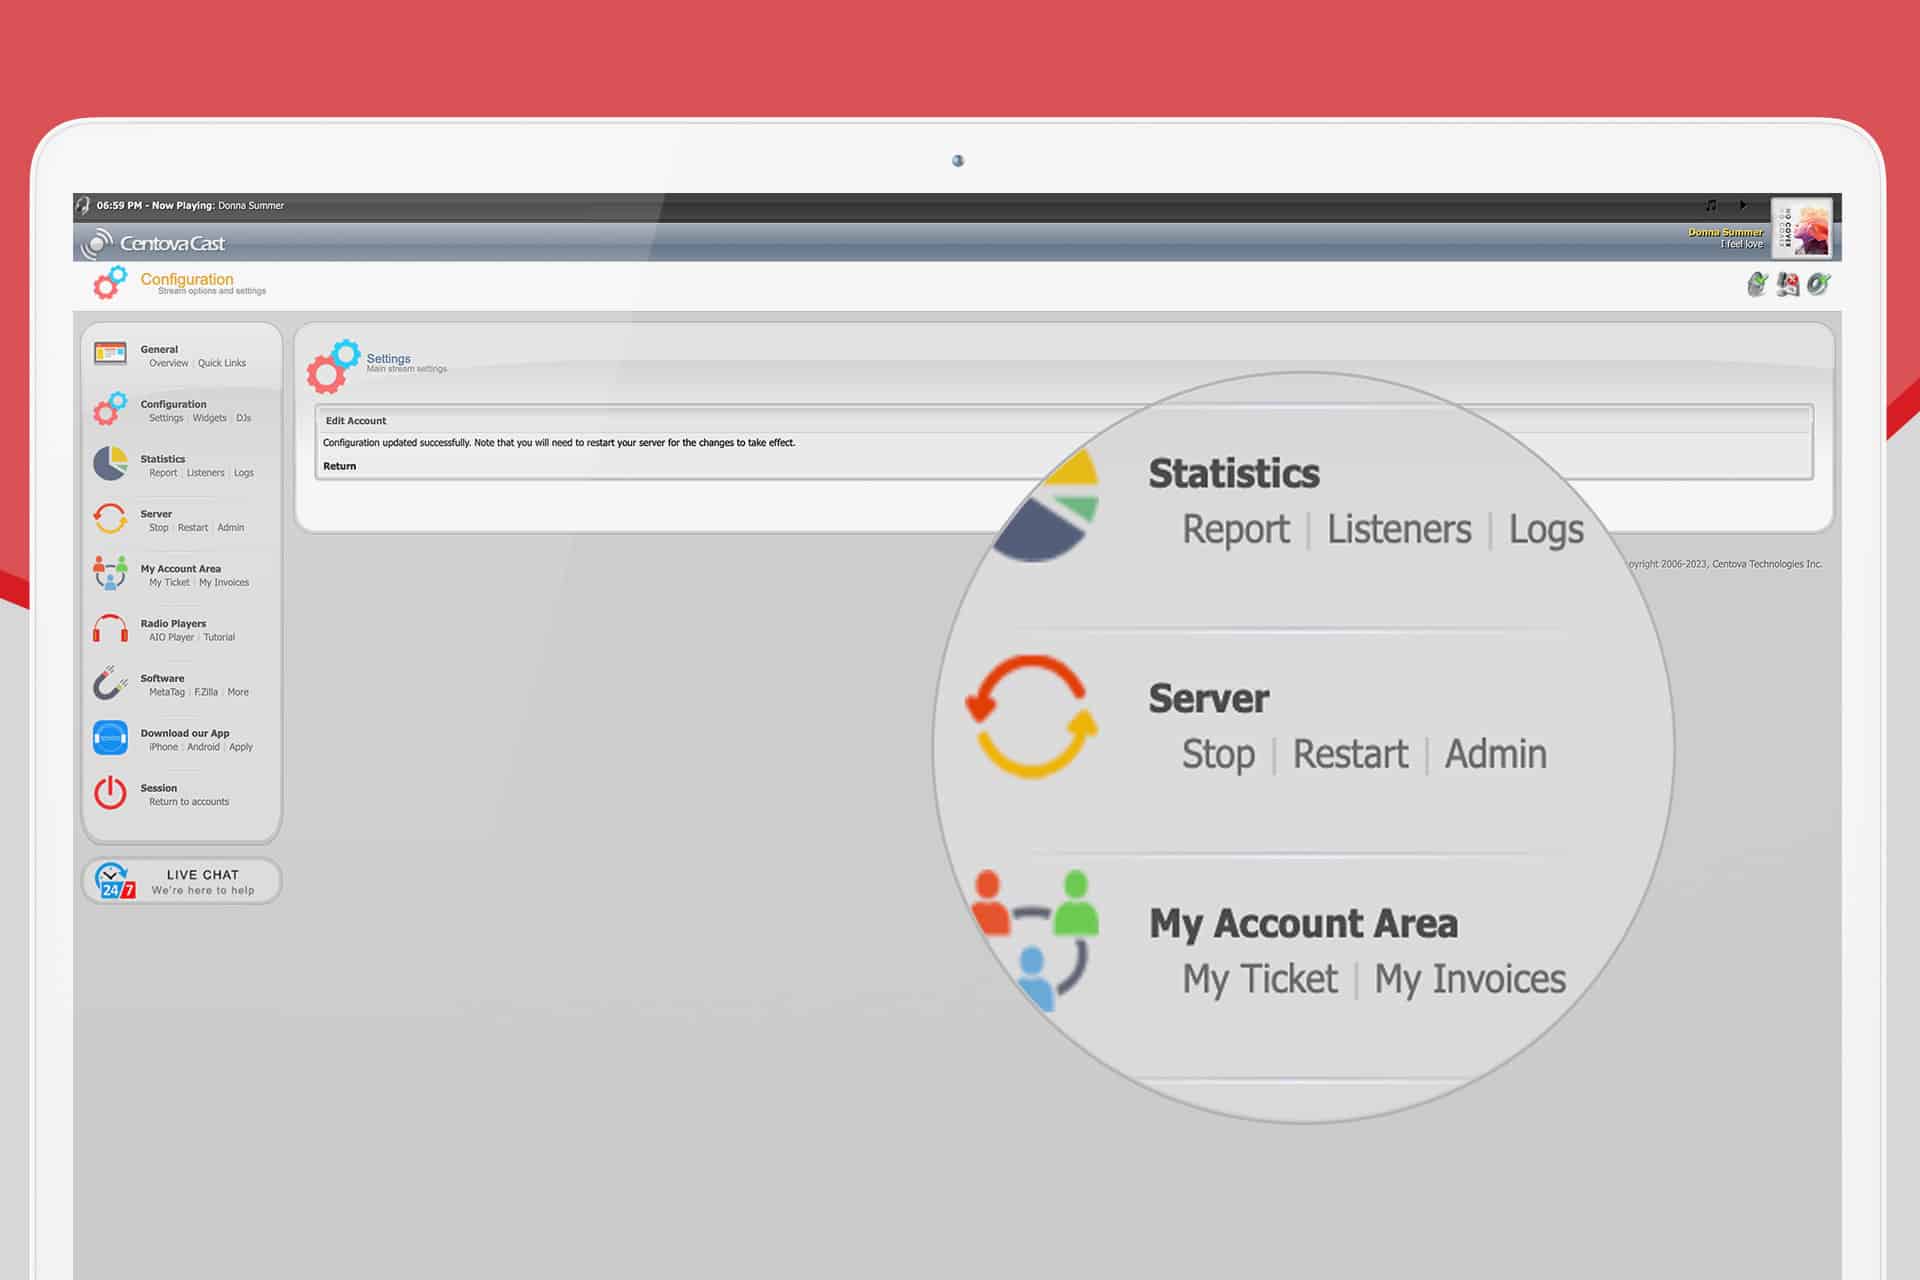
- 10. Stop and restart the server to apply the configuration.After the server restarts, test the relayed stream by tuning in to the relay mount point as a listener to confirm that you can hear the audio stream from the master server.
Relay Control (IceCast v2):
Master Relaying.
Under IceCast, you have two types of relaying options: master relaying and mount point relaying.Master relaying allows rebroadcasting all mount points from a remote IceCast server onto your server. This method is used when you want to mirror the content from the remote server without adding your original content.
To configure master relaying:
- 1: Navigate to the Settings tab under Configuration.
- 2: Select the Master Relaying tab.
- 3: Enter the hostname or IP address of the remote IceCast server in the Master server field.
- 4: Specify the port number for the remote IceCast server.
- 5: Set the master update interval to determine how often the relay will poll the master server for new mount points.
- 6: Enter the master relay password for the remote server.
- 7: Choose whether to enable relay-on-demand.
- 8: Click Update to save your changes.
Ensure that AutoDJ Status is set to Disabled under the AutoDJ tab to use master relaying effectively.
Mount Point Relaying.
Mount point relaying allows rebroadcasting a single mount point from a remote SHOUTcast or IceCast server onto your server while maintaining your own content.To configure mount point relaying:
- 1: Navigate to the Settings tab under Configuration.
- 2: Select the Mountpoint Relaying tab.
- 3: Enter the hostname or IP address of the remote streaming server.
- 4: Specify the port number for the remote streaming server.
- 5: Enter the mount point to relay from the remote server.
- 6: Set the local mount point on your server to rebroadcast the stream.
- 7: Enter the username and password required by the remote server to access the mount point.
- 8: Choose whether to enable relay-on-demand and metadata updates.
- 9: Click Update to save your changes.
After configuration, stop and restart the server to apply the changes. Verify the relay by tuning in to your server as a listener.
If you encounter any issues, check the Logs page for error messages in the Error Log.
- Streaming Pulse Inc.
Relaying Troubleshoot
If you encounter any issues during step 10/3, it's likely due to an error in your relay configuration. To troubleshoot this, please navigate to the Logs page and review the Error Log for any relevant error messages. This will help identify and resolve the underlying issue with your relay setup.
Centova Cast: Your Essential Guide
The Centova Cast Client Usage Guide is your essential tool, equipping users with the expertise to excel in the Centova Cast realm. Take a deeper dive with our extensive video tutorial resources.

